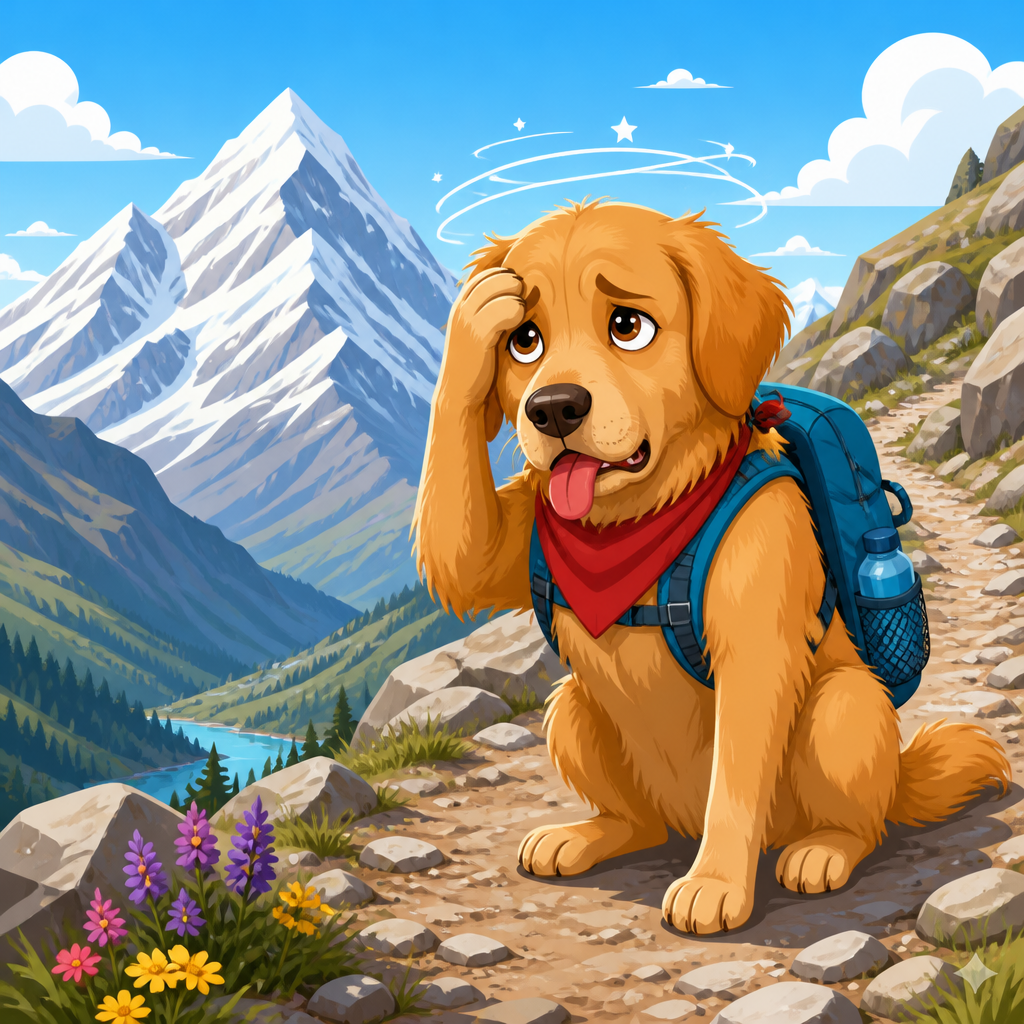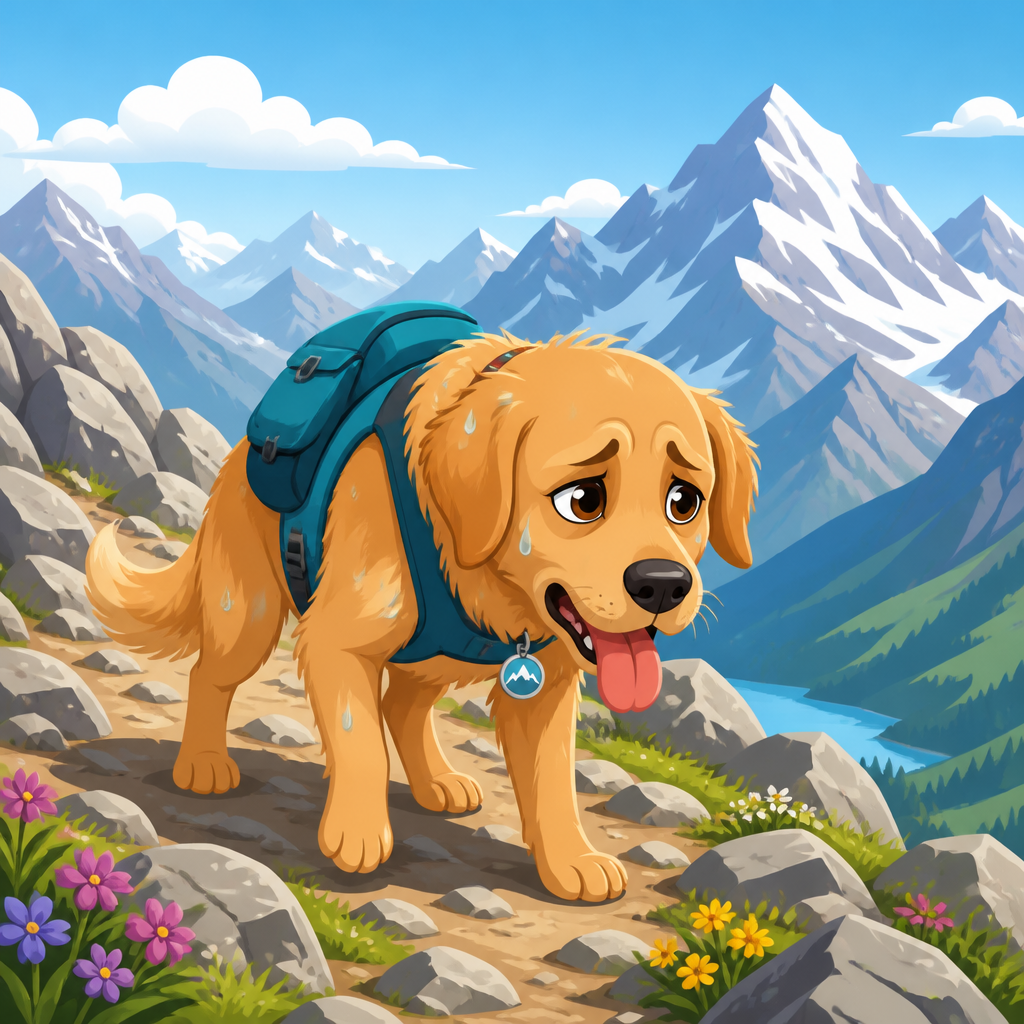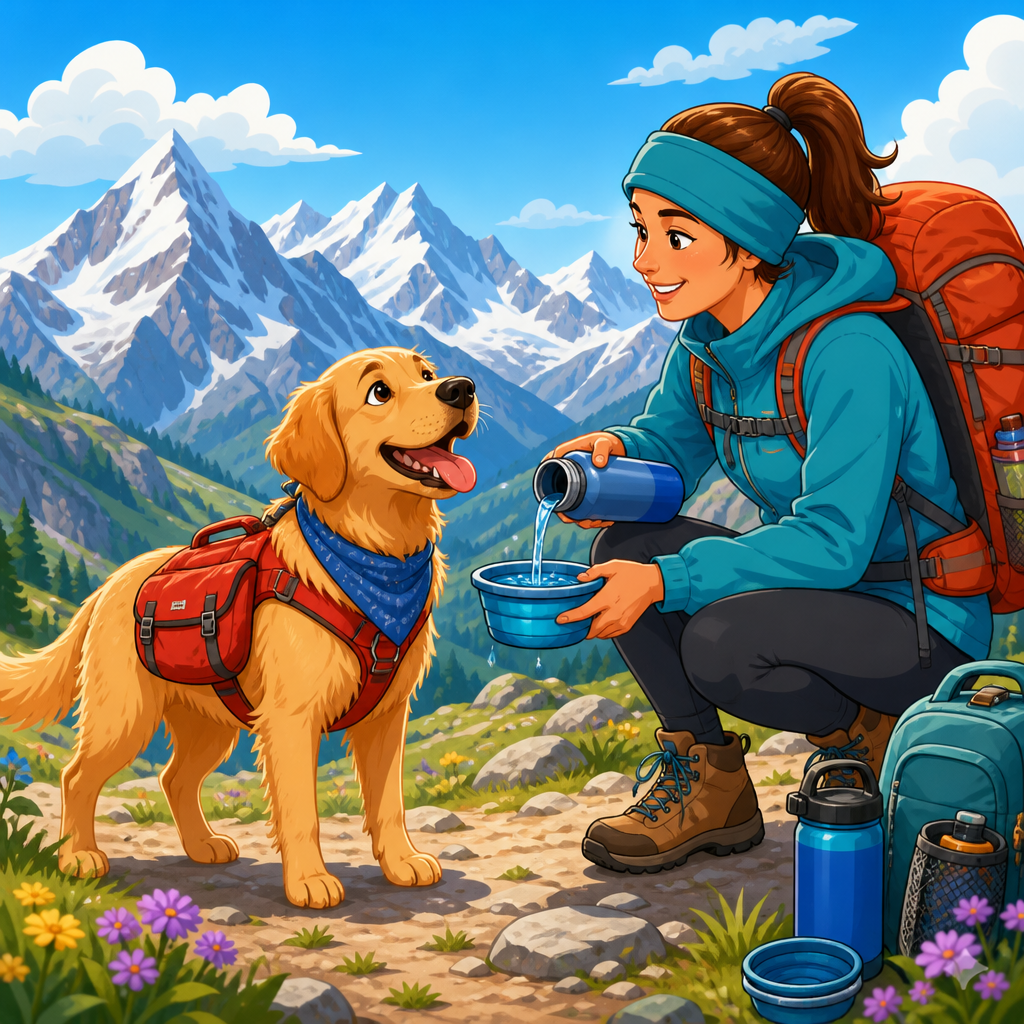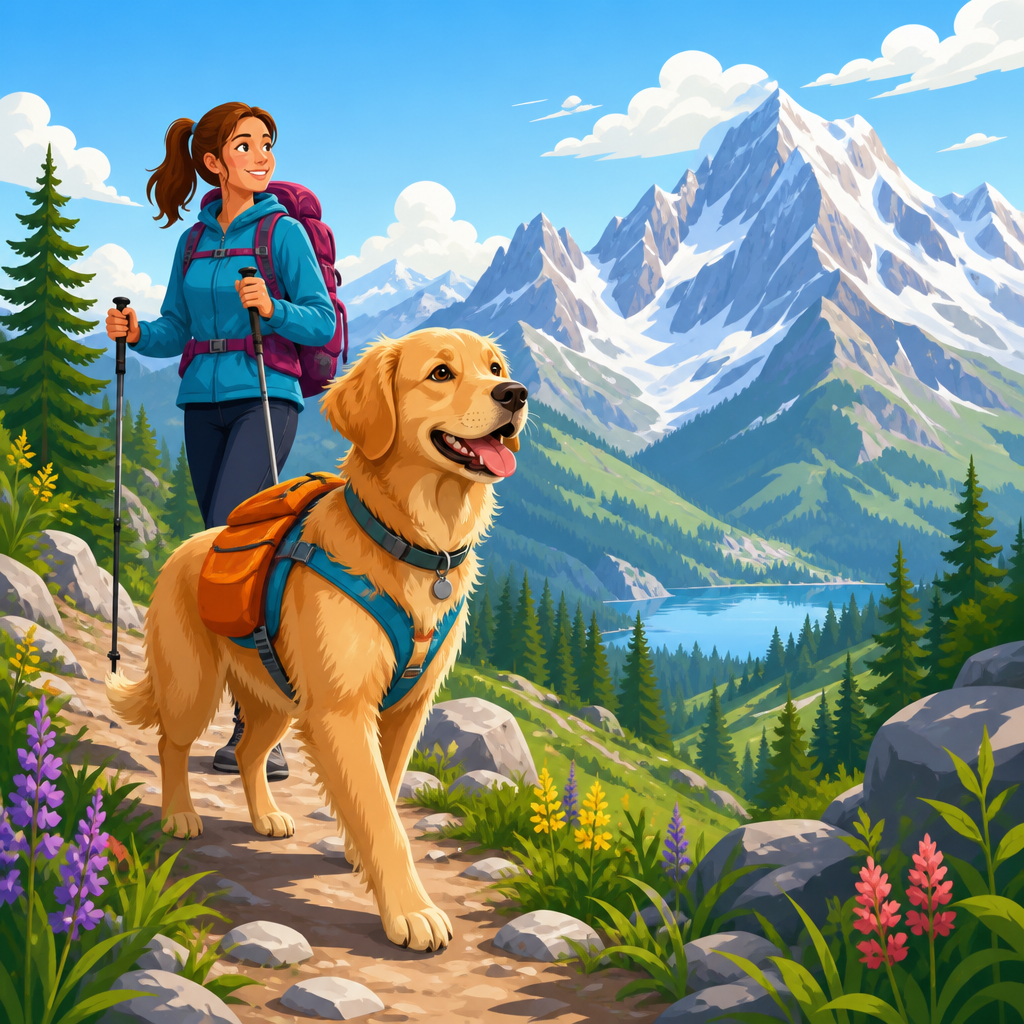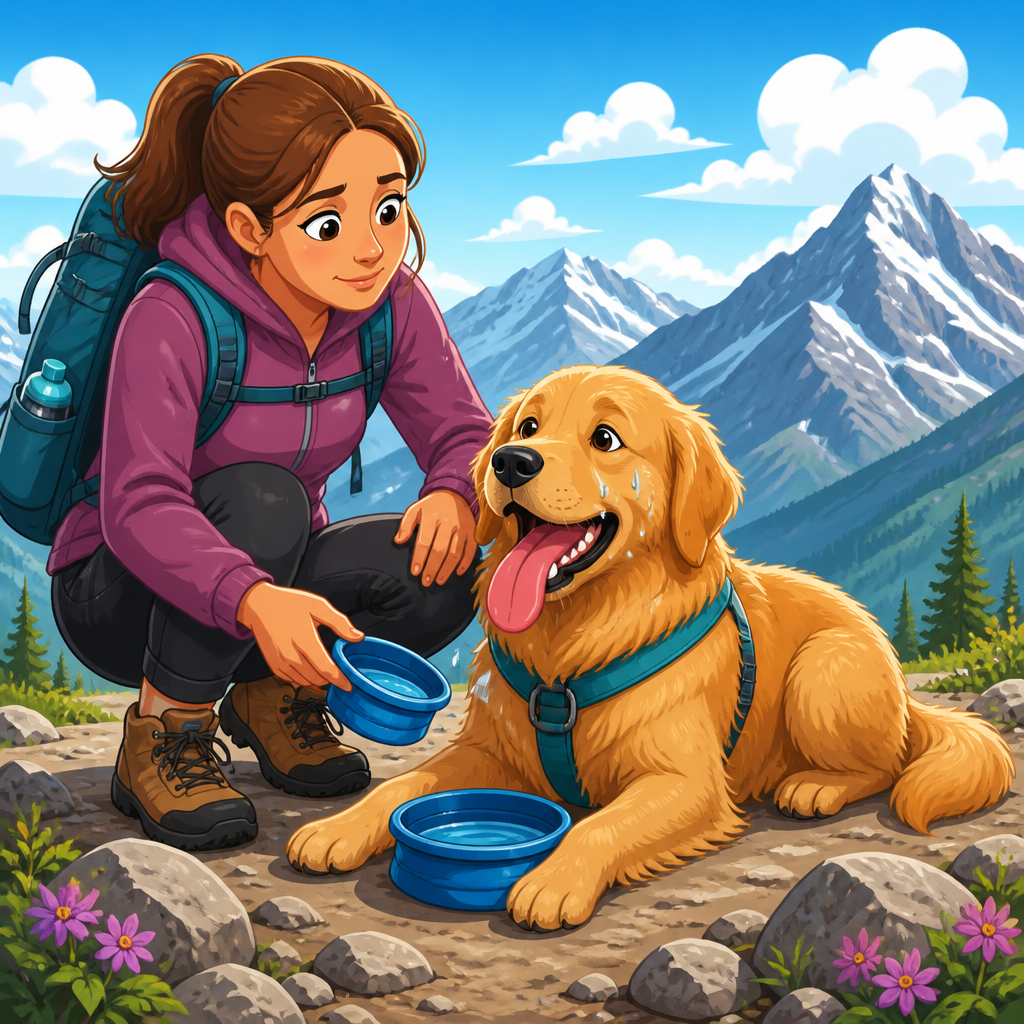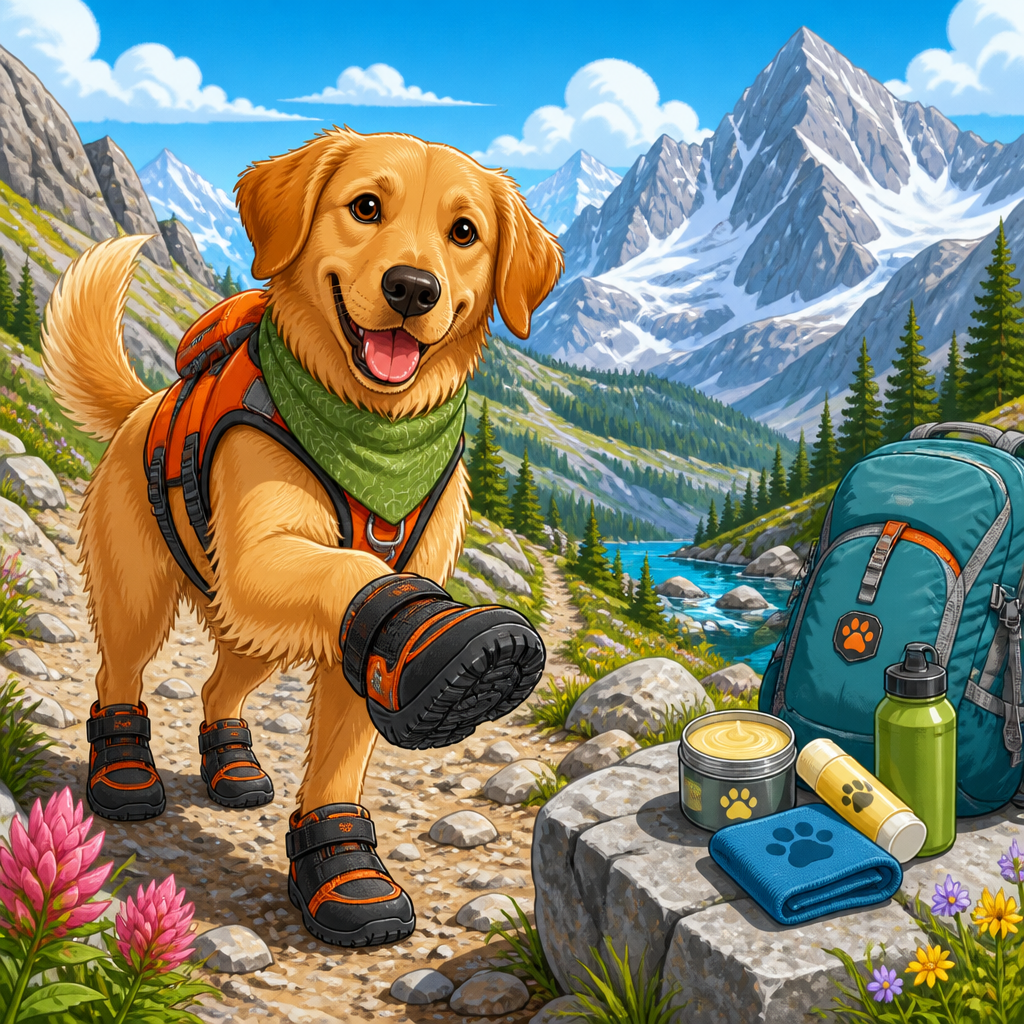
Alpine trails are spectacular, but they are unforgiving on a dog’s feet. If you hike above tree line, cross sharp scree, walk on late-season snowfields, or start before sunrise when the ground is frozen, paw protection stops being a nice extra and becomes essential trail safety. In practical terms, protecting your dog’s paws on alpine trails means reducing abrasion, preventing burns and ice injuries, managing moisture, and building enough conditioning that pads can handle long, uneven miles without tearing.
In mountain travel, a dog’s paws function like both footwear and suspension. The digital pads absorb impact, the metacarpal and metatarsal pads provide stability, and the claws help with traction on dirt, slab, and snow. Those tissues are tough, but they are not indestructible. I have seen experienced trail dogs cruise through forest singletrack, then start limping within an hour on angular talus because their owners assumed fitness alone would protect them. Altitude, terrain, temperature, and mileage create a very different demand profile than neighborhood walks or lowland hikes.
That matters because paw injuries are among the most common preventable reasons dogs need to be carried out, evacuated, or forced to turn back early. Torn pads bleed heavily, worn pads expose sensitive tissue, snow packed between toes can cause painful ice balls, and hot sun on rock can create thermal damage even when ambient air feels mild. Alpine environments also magnify small problems. A minor crack at the trailhead can become a split on descent. Damp skin from stream crossings can soften pads enough that the next scree field shreds them. Prevention is far easier than treatment miles from the car.
This hub for Mountain Dogs & Hiking covers the complete system: conditioning, route planning, boots, waxes, nail and fur management, trail monitoring, first aid, and post-hike recovery. If you want the short answer, it is this: build pad toughness gradually, match protection to terrain and weather, inspect paws repeatedly during the day, and carry the supplies to deal with damage immediately. Done well, paw care lets your dog move confidently, conserve energy, and enjoy alpine travel without avoidable pain.
Know the alpine hazards that damage paws
The first step is understanding what actually injures a dog’s paws in the mountains. Sharp rock is the obvious threat, especially loose shale, volcanic rubble, granite fragments, and talus with knife-like edges. These surfaces create repetitive micro-abrasion, then punctures or tears once the outer pad layer wears thin. Long descents are often worse than climbs because braking forces increase friction. Dogs that zigzag, jump between rocks, or scramble down steep gullies wear pads even faster.
Temperature is the second major hazard. Snow and ice can cause cold injury, but the bigger problem on many summer alpine hikes is the combination of intense solar exposure and heat-retaining stone. Dark rock in full sun can become hot enough to injure pads while the air temperature still feels comfortable to humans. Conversely, spring and fall trips often involve freeze-thaw cycles: crusted morning snow can slice pads, while slushy afternoon melt keeps the interdigital skin wet and vulnerable. Add de-icing salts on access roads or parking areas, and chemical irritation becomes another concern.
Moisture, surface texture, and mileage interact. Wet pads soften, making abrasion more likely. Fine gravel works into the spaces between toes and acts like sandpaper. Seed heads, small splinters, and tiny ice balls can lodge in fur and create pressure points. Dogs with splayed feet, thin fur between the toes, previous scar tissue, or overgrown nails are more susceptible because their gait and load distribution are already compromised.
Breed and body size matter, but not in simplistic ways. A lean, conditioned cattle dog may handle technical terrain better than a larger mountain breed with excellent cold tolerance but less nimble foot placement. Puppies should not be asked to do sustained alpine mileage because developing joints and pads are still adapting. Senior dogs may have reduced proprioception or arthritis, which changes how they descend and increases pad friction. The right question is not whether a dog is “tough.” It is whether that individual dog is prepared for that specific route on that specific day.
Condition paws before the season starts
You cannot buy your way past inadequate conditioning. Tougher pads come from progressive exposure, just as stronger muscles come from progressive load. Start weeks before major hikes by increasing time on mixed surfaces: pavement for controlled abrasion, packed dirt for endurance, gravel for foot placement, and mild rocky trails for adaptation. The goal is to stimulate thickening of the outer pad layer without causing tenderness. A sudden jump from grass walks to ten alpine miles almost guarantees trouble.
Conditioning should also include overall movement quality. Strong shoulders, hips, and core reduce sloppy foot strikes that grind pads into rock. Hill repeats, controlled descents, balance work on stable uneven surfaces, and gradually longer hikes improve efficiency. Dogs that are fit but uncoordinated still burn through their feet. I prefer a simple progression: short mixed-terrain outings twice weekly, one longer hike on weekends, then a rest day after any session that leaves the pads pink or warm.
Nail length is part of conditioning, not cosmetic maintenance. Nails that are too long alter toe splay and make the pads meet the ground at poor angles. Keep them short enough that they do not click heavily on hard floors, while preserving enough length for traction. Dewclaws should also be trimmed; on steep traverses they can snag and destabilize the forelimb. If your dog has heavy fur between the pads, trim it flush rather than shaving skin-close. That reduces snowballing and debris buildup without increasing friction from exposed skin.
Pad balms can support conditioning, but they do not replace it. Waxes and conditioners help maintain suppleness and reduce superficial drying or cracking. They are most useful in dry climates, on dogs prone to fissures, or as part of post-hike care. They are not armor. If a product claims to make an untrained paw ready for sharp talus, ignore the marketing.
Choose the right protection: boots, wax, or both
Dog boots are the most reliable protection for alpine trails because they create a physical barrier against abrasion, heat, snow crust, and chemical irritants. The best boots fit securely, flex naturally, protect the pad and lower foot, and stay on during steep climbing and descending. Look for a grippy sole, an upper that does not rub the dewclaw, and a closure system that tightens above the carpus or hock without restricting circulation. Ruffwear Grip Trex, Non-stop dogwear Protector Bootie models, and Muttluks alpine-oriented options are commonly used because they balance durability with mobility, though fit varies by foot shape.
Fit is everything. A boot that twists causes more harm than no boot because it changes the dog’s gait and creates friction sores. Measure each front and rear foot under load; many dogs need different sizes. Introduce boots at home, then on short local walks, before any mountain objective. Dogs need time to learn foot placement in boots, and owners need time to identify rub points. I always recommend carrying spares because one lost boot on a ridge can end the day.
Wax has a narrower role. Products such as Musher’s Secret can reduce snow clumping, add a light moisture barrier, and help with dry cracking, but they offer limited defense against sharp rock and hot stone. On moderate trails, wax alone may be enough for a conditioned dog. On true alpine terrain, wax works best as an adjunct under or between booted sections, not as your sole protection strategy.
| Protection option | Best use case | Main strengths | Main limitation |
|---|---|---|---|
| Dog boots | Sharp rock, snow crust, long mileage, hot stone | Strong abrasion and temperature barrier | Fit problems can cause rubbing or loss |
| Paw wax | Dry pads, light snow, short moderate hikes | Helps moisture balance and reduces snowballing | Minimal protection from cuts and heat |
| Boots plus wax | Mixed alpine conditions over full days | Combines barrier protection with skin support | Requires testing and more maintenance |
Plan routes and timing around paw safety
Good alpine dog travel begins before you leave home. Read route descriptions with your dog’s feet in mind, not just your own fitness. Distance is only one variable. Surface composition, cumulative descent, exposure to sun, likelihood of snow patches, stream crossings, and bailout options matter more. A six-mile ridge walk on angular rock can be harder on paws than a twelve-mile forest loop.
Timing changes surface risk dramatically. Early starts help avoid afternoon heat on exposed rock, but pre-dawn freezes can make snowfields crusty and abrasive. Midseason routes often have a mix of dry trail, remnant snow, and wet runoff; expect to switch between bare paws and boots or keep boots on for consistency. If the forecast calls for thunderstorms, remember that wet granite, hail, and sudden temperature drops can all affect traction and paw comfort.
Trailhead behavior matters too. Many dogs injure or irritate paws before the hike truly starts by walking through parking-lot chemicals, hot asphalt, or broken glass. A quick rinse or wipe at the car can prevent hours of licking later. Once on trail, schedule paw checks the same way you schedule water breaks. I use three triggers: after the first hour, before and after any long talus section, and at the top of major climbs before descent. That routine catches small abrasions before they become failures.
If you are building a season in the Mountain Dogs & Hiking category, think in progressions. Start with packed-dirt mountain trails, move to shorter rocky routes, then add snow travel, scrambling, and longer days. That sequence teaches both dog and handler what protective setup works. It also gives you data: how often your dog needs water, whether boots stay on during sidehilling, and how pads look after cumulative vertical loss.
Monitor paws on trail and respond early
Dogs rarely announce paw pain clearly at first. The earliest signs are subtle: shortened stride, frequent stopping, licking one foot, reluctance to jump down, shifting weight while standing, or suddenly choosing softer trail edges. In boots, a dog may high-step briefly when first wearing them, but persistent exaggerated gait usually means poor fit. Do not wait for limping. By the time a limp appears on alpine terrain, the pad is often already worn through or split.
Hands-on checks are quick and decisive. Look for pinkening, glazing, cracks at the pad margins, bleeding, embedded grit, and irritation between toes. Feel for unusual warmth. Check the nails and the skin where boot straps contact the leg. If a boot is filling with grit or rotating, fix it immediately. On snow, remove ice balls as soon as they form; they pry the toes apart and can cause abrasions surprisingly fast.
Hydration and pacing affect paw health more than many owners realize. A fatigued dog places its feet less precisely and stumbles more, which increases scraping. Dehydration can contribute to overall tissue vulnerability and poor thermoregulation on hot exposed trails. Offer water frequently, use shade breaks, and keep nutrition steady on long days. A strong dog with tired feet often needs the same intervention as a tired dog with strong feet: a slower pace and a shorter objective.
Carry a paw-specific first aid kit and know how to use it
Your dog hiking first aid kit should include nonstick wound pads, rolled gauze, self-adherent wrap, antiseptic wipes safe for canine use, blunt-tip scissors, tweezers, saline, a boot or two in reserve, and adhesive tape that can secure a bandage to a boot rather than directly to fur. For backcountry travel, I also carry a small chlorhexidine solution, styptic powder for nail injuries, and a lightweight sock or protective sleeve. These are simple items, but they solve most trailhead-to-car paw problems.
For an abrasion or small cut, flush debris with saline, pat dry, apply a nonstick pad, wrap snugly but not tightly, then place a boot over the bandage. The boot protects the dressing and reduces contamination. For a torn pad flap, resist the urge to trim aggressively on the trail unless the tissue is clearly detached and catching constantly. Stabilize it, limit walking, and head out. Deep lacerations, uncontrolled bleeding, exposed deeper tissue, or a dog unwilling to bear weight warrant veterinary evaluation as soon as possible.
Evacuation planning is part of paw protection. If your dog cannot walk safely, can you carry them? Large-breed owners should think about this before committing to remote alpine routes. Sling systems and emergency carry harnesses exist, but they are only useful if you have practiced with them. The best first aid kit is still prevention backed by realistic retreat decisions.
Recover well and build a stronger mountain dog
Post-hike care determines how quickly paws adapt for the next outing. Rinse dirt, salts, and grit away, then inspect under bright light. Minor superficial wear often benefits from rest, clean bedding, and a thin application of balm once the paws are dry. Do not moisturize heavily before the next hike if it leaves the pads soft. For small cracks, monitor for redness, swelling, discharge, or persistent licking, all of which suggest infection or deeper injury.
The larger goal is creating a sustainable alpine routine. Keep notes on route surfaces, weather, mileage, and how your dog’s paws looked the next day. Patterns emerge quickly. You may learn that your dog handles snow well but needs boots on volcanic rock, or that rear feet wear down sooner on steep descents. Those details help you choose better routes and protection for future trips.
The main takeaway is simple: alpine paw care is a system, not a product. Condition pads gradually, trim nails and fur, use well-fitted boots when terrain demands them, inspect paws often, and carry the supplies to manage injuries early. Do that consistently, and your dog can move through mountain terrain with far more comfort and safety. Before your next hike, test your setup on a shorter route and make paw checks part of your standard trail routine.
Frequently Asked Questions
Why do dogs need paw protection on alpine trails if they already have tough paw pads?
Dogs do have naturally resilient paw pads, but alpine terrain creates a very different level of stress than a neighborhood walk, a forest path, or even a typical day hike. Above tree line, your dog may be dealing with sharp scree, fractured granite, rough talus, abrasive gravel, hidden ice, crusted snow, and freezing ground in the same outing. Paw pads can handle a lot, but they are still living tissue. Constant abrasion can wear them down, sharp rock can slice them, and extreme temperatures can cause both burns and cold injuries.
One of the biggest misconceptions is that a fit dog automatically has trail-ready feet. Fitness helps, but conditioning the cardiovascular system is not the same as conditioning paw pads. A dog that is strong enough to hike ten miles may still split a pad in the first few miles if it is not used to jagged, uneven surfaces. Alpine trails also magnify small problems. A minor crack can become a painful injury once grit, moisture, and continued impact are added. In remote terrain, a paw injury is not just uncomfortable. It can end the hike, slow your descent, or create a genuine safety issue if your dog can no longer move confidently over exposed or technical ground.
That is why paw protection should be viewed as preventive safety gear rather than an optional accessory. The goal is to reduce friction, shield against cuts, manage temperature extremes, and preserve traction so your dog can travel comfortably and safely from start to finish. Even dogs with naturally tough feet benefit from a layered approach that includes conditioning, regular paw checks, moisture management, and protective gear when conditions demand it.
What kind of paw protection works best for alpine trails: boots, wax, or something else?
The best paw protection for alpine trails is usually a combination of tools rather than a single product. Dog boots provide the highest level of protection against sharp rock, abrasive terrain, snow crust, ice, and temperature extremes. On routes with scree fields, extended talus, frozen early-morning ground, or late-season snow crossings, well-fitted boots are often the most reliable option because they create a physical barrier between the paw and the surface. They can prevent abrasions, reduce the chance of cuts, and help limit exposure to ice buildup and frozen ground.
Paw wax or balm can be helpful, but it should not be treated as a substitute for boots in harsh alpine conditions. Wax works best as a support measure. It can help reduce surface dryness, improve resilience, and offer mild protection against minor abrasion and snow clumping. It is useful for dogs hiking on mixed terrain where full boot use may not be necessary the entire time. However, wax does not stop sharp rock from cutting a pad, and it does not provide true insulation on frozen ground or protection from hot, sun-baked stone.
Other useful items include self-adhesive wrap, gauze, and a paw-specific first aid kit for emergencies. Some hikers also carry spare boots, since losing one on trail is common, especially in rough terrain. The key is matching your gear to the environment. For mild alpine approaches on packed trail, conditioning and a protective balm may be enough. For technical, rocky, icy, or highly abrasive terrain, boots are usually the better choice. In many cases, the most practical system is this: condition the paws ahead of time, use wax to maintain pad health, and carry or use boots whenever the terrain becomes harsh enough to threaten comfort or safety.
How can I prepare my dog’s paws before hiking on alpine trails?
Preparing your dog’s paws should start well before the trip. The goal is to gradually build pad toughness, improve tolerance for uneven surfaces, and identify any fit or gait issues before you are in remote terrain. Start by increasing time on varied natural surfaces such as dirt, gravel, firm rock, and uneven trails. A slow progression is important. Repeated exposure over several weeks helps the pads adapt, while sudden long hikes on rough ground are much more likely to cause damage.
It also helps to inspect your dog’s feet regularly during the conditioning period. Look for worn spots, redness between the toes, nail problems, small cracks, or sensitivity when the paw is handled. Trim nails so they do not alter foot placement on steep or rocky ground, and keep fur between the pads neatly managed if it tends to collect snow or conceal debris. If your dog will be wearing boots, introduce them well in advance. Let your dog wear them on short walks first, then on hikes with elevation and rougher terrain. A dog that first tries boots at the trailhead often wastes energy fighting the gear or develops rubbing from poor fit that could have been solved earlier.
You should also build rest-and-check habits into training. On alpine hikes, frequent paw inspections can catch early problems before they become serious. Practice stopping, removing a boot if needed, and checking for grit, moisture, or rubbing. Conditioning is not only about making the pads tougher. It is about making the entire system work smoothly: strong paws, proper nail care, boot familiarity, and an owner who can recognize trouble early. That preparation dramatically lowers the risk of torn pads, cold-related injuries, and painful abrasions on long mountain days.
How do I know when my dog’s paws are getting damaged on the trail?
Early signs of paw trouble are often subtle, and they are easy to miss if you wait for obvious limping. A dog with paw pain may begin moving more slowly, hesitating on rocky sections, choosing softer edges of the trail, sitting down more often than usual, or licking at a foot during breaks. You might also notice a shortened stride, reluctance to descend, repeated lifting of one paw, or an unusual sensitivity when crossing scree, snow, or rough stone. In cold conditions, a dog may suddenly stop and hold a paw up because of ice buildup between the toes or discomfort from frozen ground.
Physical signs become clearer when you inspect the feet. Look for thinning pads, fresh abrasions, small cuts, cracks, bleeding, raw edges, packed snow, trapped grit, torn dewclaw areas, or redness between the toes. Also check whether boots are rubbing, twisting, or trapping moisture. Wet skin softens and becomes more vulnerable to abrasion, so even a foot that looks fine at first can break down quickly if it stays damp and gritty for hours.
The best approach is to check paws before the hike, at regular intervals during the hike, and again afterward. On demanding alpine routes, especially those involving scree, snowfields, or long descents, scheduled inspections are far smarter than waiting for a problem to announce itself. If you find a hot spot, crack, or worn area, take action immediately. Dry the paw, remove debris, apply first aid if needed, and switch to boots or shorten the outing. Continuing in the hope that your dog will push through often turns a manageable issue into a serious injury. In alpine terrain, paying attention to small behavior changes is one of the most effective ways to protect your dog’s feet.
What should I do if my dog injures a paw while hiking on an alpine trail?
If your dog injures a paw on an alpine trail, your first priorities are to stop, assess the severity, and protect the foot from further damage. Move to a stable spot off the main path if possible, then examine the paw carefully. Remove any visible debris such as gravel, ice, or plant material. Check the pad, the spaces between the toes, the nails, and the top of the foot. Minor abrasions or small cuts may be manageable on trail, but deeper lacerations, heavy bleeding, torn nails, or obvious inability to bear weight are signs that the hike should end immediately.
For a mild injury, gently clean the area with water or saline if you have it, pat it dry, and apply a protective dressing if necessary. A nonstick pad with light wrap can help, but it should be snug rather than tight. Overly tight bandaging can create circulation problems, especially on a swollen foot. Once dressed, place a boot over the paw to keep the bandage in place and reduce further abrasion. If the injury is cold-related, such as ice buildup, frostnip, or raw skin from snow exposure, warm the paw gradually and keep it dry and protected. Do not force your dog back onto harsh terrain without support.
Know when to turn around. In alpine environments, distance and terrain can make a minor paw issue deteriorate quickly. If your dog is limping, refusing to move, repeatedly lifting the foot, or showing signs of significant pain, descend by the safest and shortest reasonable route. In severe cases, you may need to carry your dog, share load with hiking partners, or call for assistance depending on the situation and local emergency resources. After the hike, monitor closely and contact your veterinarian if the cut is deep, the pad is torn, the nail is damaged, there is persistent bleeding, or your dog remains lame. Fast action, good trail first aid, and a willingness to end the hike early are what prevent a paw injury from becoming a much larger problem.