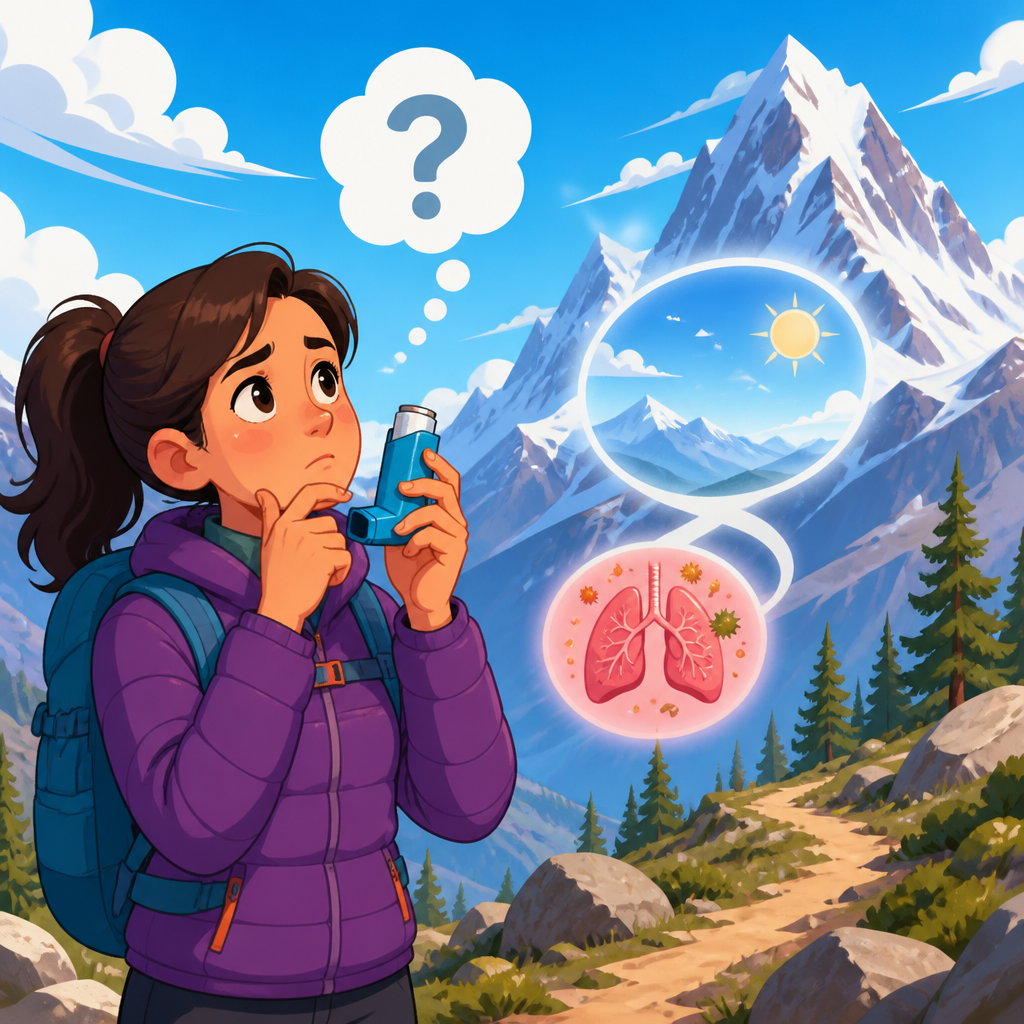
Traveling to high-altitude destinations with diabetes requires more planning than an ordinary trip, but it is entirely manageable with the right travel checklist for diabetes in mountain environments. In clinical education sessions and trip-prep consultations, I have seen the same pattern repeatedly: people focus on flights, clothing, and hiking gear, yet underestimate how altitude, cold, dehydration, delayed meals, and physical exertion can shift blood glucose in unpredictable ways. A strong plan starts with understanding diabetes itself, then adapting daily management to the stresses of mountain travel.
Diabetes is a chronic condition that affects how the body regulates glucose, the primary fuel circulating in the blood. In type 1 diabetes, the pancreas produces little or no insulin, so insulin must be replaced. In type 2 diabetes, the body becomes resistant to insulin and may also produce less over time; treatment can include food planning, exercise, oral medications, non-insulin injectables, and insulin. Some travelers also live with gestational diabetes or secondary diabetes caused by pancreatic disease or steroid use. Regardless of type, mountain environments matter because changes in routine can affect insulin sensitivity, appetite, circulation, breathing, and hydration status all at once.
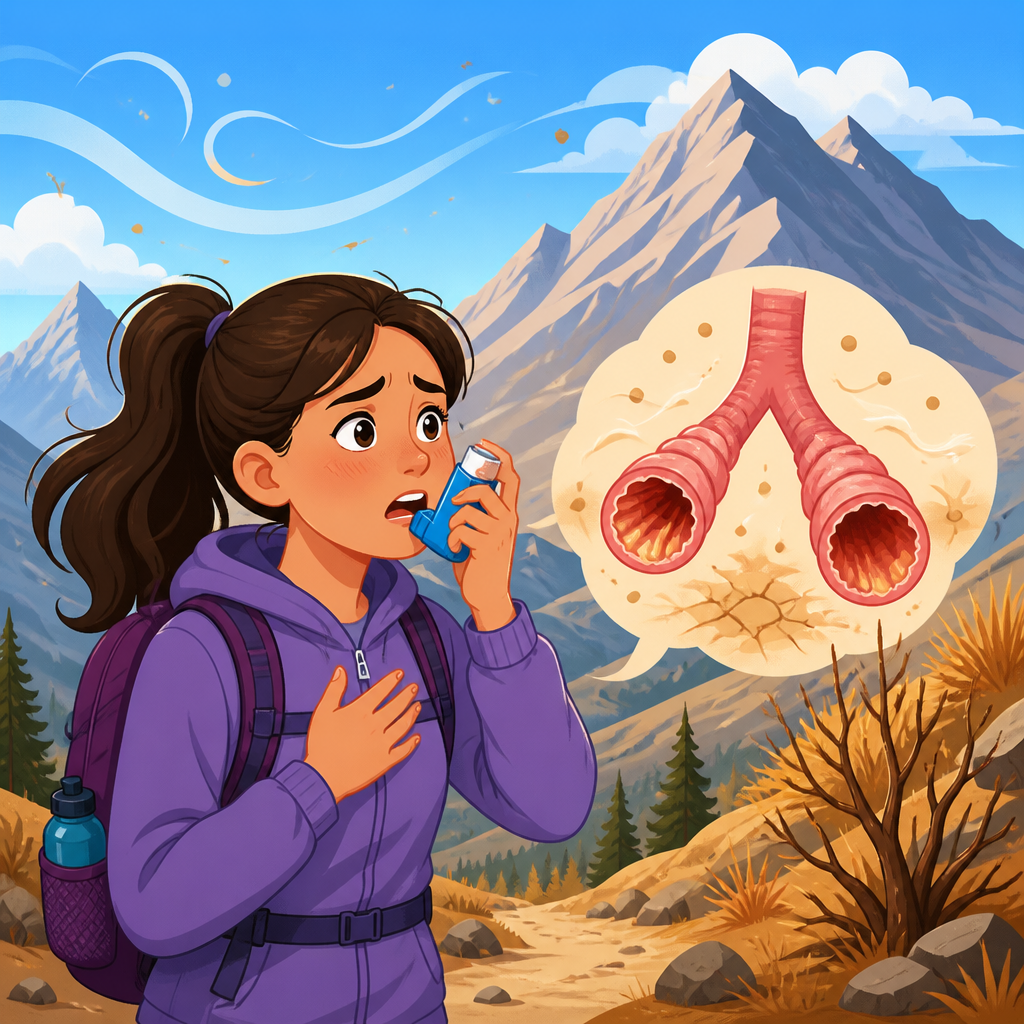
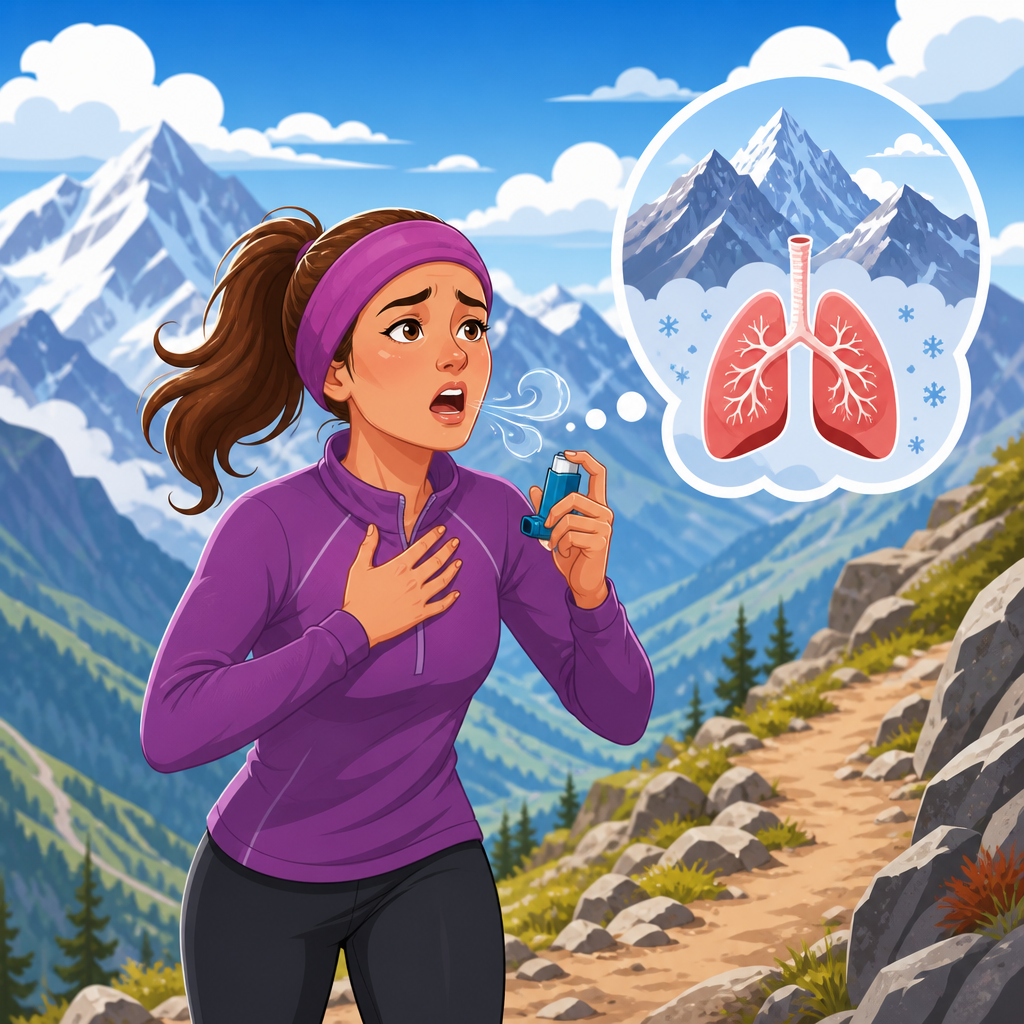
Altitude adds a distinct layer of risk. As elevation increases, oxygen pressure drops, leading to faster breathing, fluid loss, disturbed sleep, and a stress hormone response that may increase glucose. At the same time, long hikes and sustained exertion often lower glucose, especially in insulin users. Cold temperatures can slow insulin absorption from the skin, while direct sun or a hot vehicle can degrade insulin if it overheats. Glucose meters and continuous glucose monitors can also perform differently outside their recommended temperature and altitude ranges. That is why a practical mountain diabetes checklist is not simply about packing more supplies; it is about preventing emergencies while preserving flexibility and enjoyment.
This hub article covers the core issues every traveler with diabetes should address before visiting mountain regions: pre-trip medical review, medication packing, glucose monitoring, food and hydration strategy, altitude illness overlap, foot protection, and emergency planning. If you build your preparation around these fundamentals, you reduce the chance that a manageable chronic condition turns into a serious problem far from care.
Start with pre-trip medical planning and route research
The best time to prepare for a mountain trip is several weeks before departure. I recommend a focused review with your diabetes clinician if your treatment has changed recently, you have had severe hypoglycemia in the past year, your A1C is far above target, or you are planning remote trekking rather than resort travel. This visit should cover medication timing across time zones, recent glucose patterns, how to adjust doses for long activity days, and whether you need rescue prescriptions such as glucagon, extra insulin, ketone strips, or anti-nausea medication. Ask for a concise medication list and a letter stating that you must carry insulin, needles, sensors, pumps, and glucose treatments.
Route research is just as important as medical planning. Know your sleeping altitude, maximum daytime altitude, expected temperature range, hiking duration, nearest pharmacy, and nearest clinic with emergency capability. A village at 2,500 meters presents different demands than a multi-day trek above 3,500 meters. Altitude illness can mimic glucose problems, so you need a threshold for seeking help. Headache, nausea, dizziness, fatigue, and poor appetite may be acute mountain sickness, hypoglycemia, hyperglycemia, or dehydration. If symptoms do not improve quickly after treating low glucose and resting, altitude should stay high on your differential.
Insurance details matter in mountain regions because evacuation can be expensive. Standard health insurance may not cover helicopter rescue, international transport, or travel interruption. Check policy language for preexisting conditions, emergency evacuation, and replacement medication coverage. Save local emergency numbers offline, mark hospitals on your phone map, and share your itinerary with a family member who understands your diabetes regimen.
Pack diabetes supplies for delay, damage, and separation
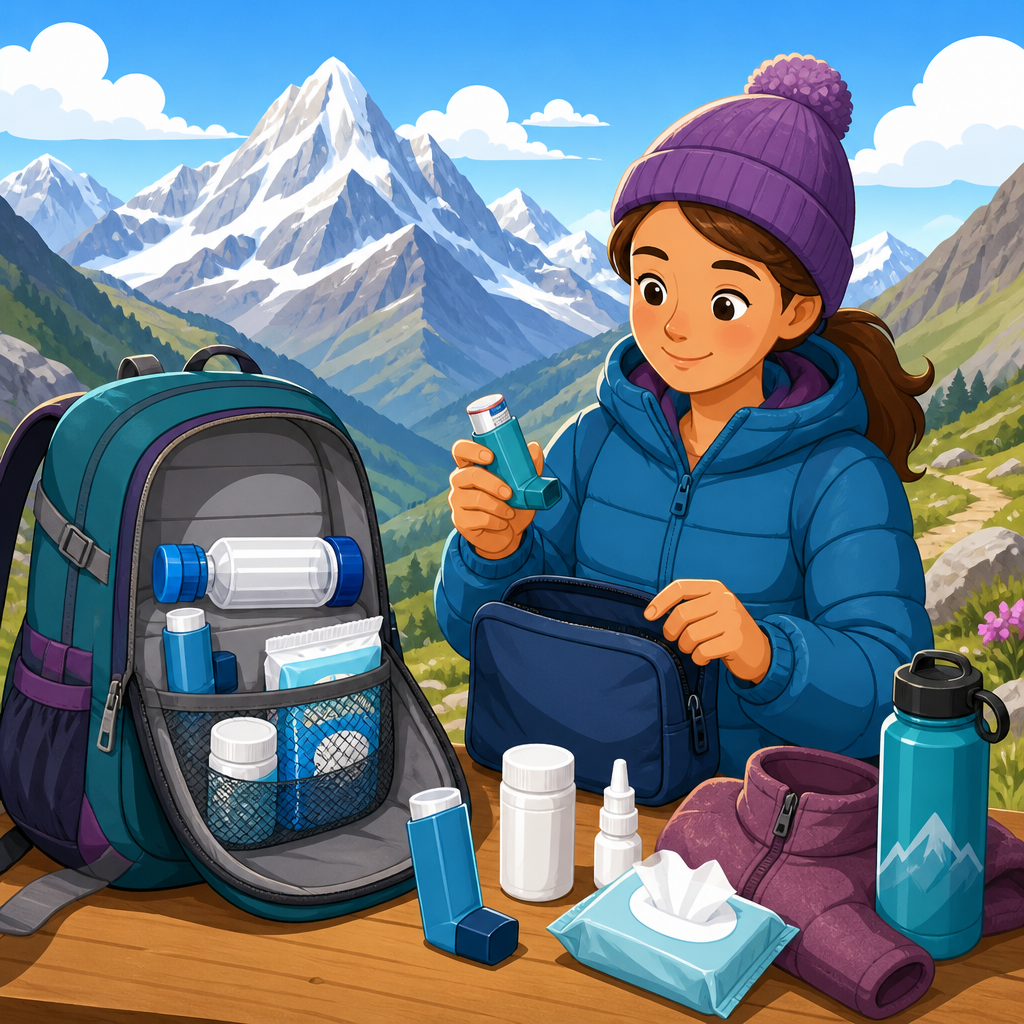
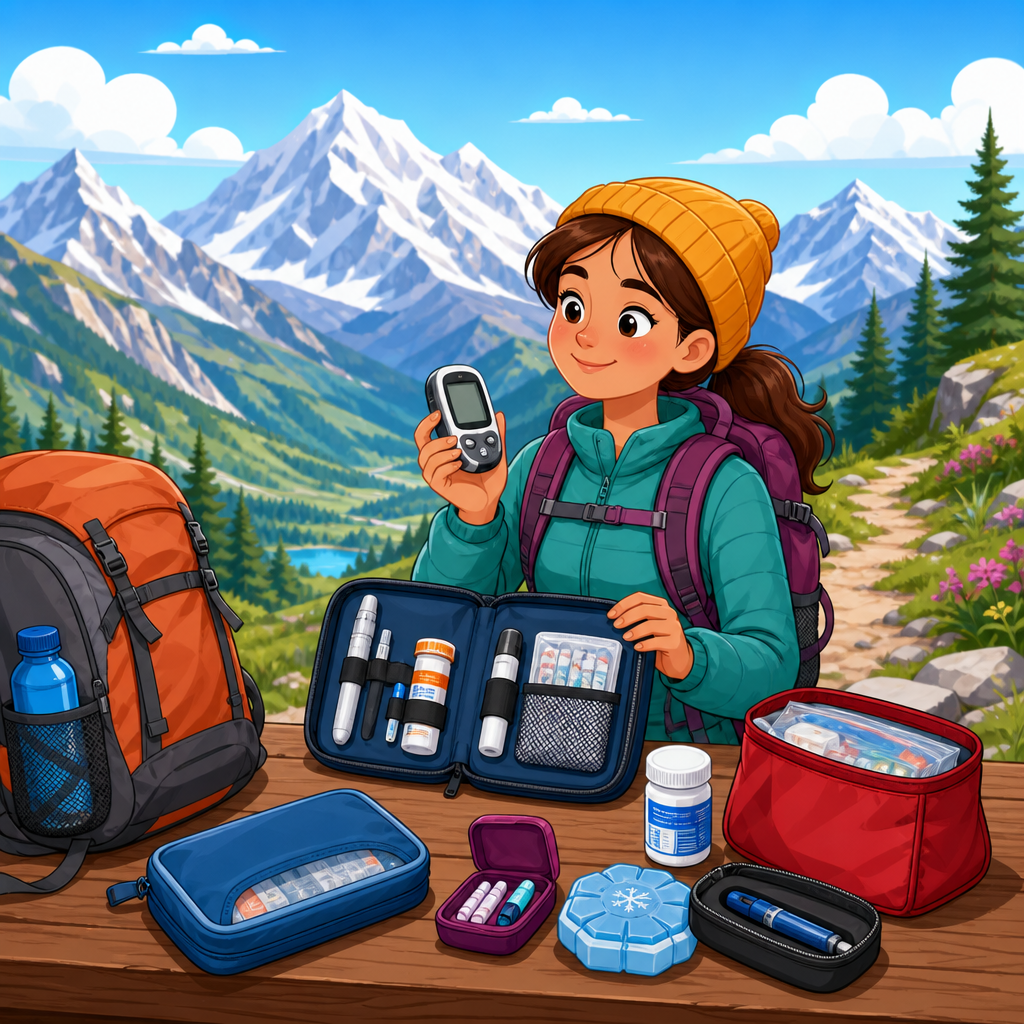
The most reliable packing rule is simple: carry at least twice the supplies you expect to use, and split them between locations. I advise travelers never to place all insulin, pump supplies, or CGM sensors in one bag. Checked luggage can be lost, and mountain weather can delay road access for days. Keep essential medication and glucose treatment in your personal carry-on, with a backup portion in a travel partner’s bag if possible. For insulin, include current vials or pens, spare pens, pen needles or syringes, alcohol wipes if you use them, and a cooling case that maintains a safe range without freezing the medication.
Pump users should pack infusion sets, reservoirs, insertion devices, batteries or charging cables, adhesive supports, and a full backup plan for injections if the pump fails. CGM users need extra sensors, overpatches, charging equipment, and finger-stick supplies because compression, cold, sweat, and long wear can loosen sensors. Every traveler with diabetes should still bring a blood glucose meter even if they rely heavily on CGM, because sensor readings can lag during rapid glucose changes and may be less dependable when perfusion is reduced in the cold.
| Category | What to pack | Why it matters in mountain environments |
|---|---|---|
| Glucose monitoring | Meter, strips, lancets, CGM receiver or phone charger, spare sensor | Cold, altitude, and exertion can change readings and increase the need for confirmation |
| Medication | Insulin, oral drugs, GLP-1 pens, syringes, pen needles, pump backup | Travel delays and equipment failure are harder to solve in remote areas |
| Low glucose treatment | Glucose tablets, gels, juice boxes, fast carbs in jacket and pack | Hypoglycemia can develop quickly during hikes and in cold weather |
| Safety | Glucagon, ketone strips, medical ID, clinician letter, insurance card | Emergency treatment and identification save time when symptoms overlap with altitude illness |
| Foot care | Broken-in boots, moisture-wicking socks, blister kit, nail supplies | Neuropathy, friction, and delayed wound healing raise the stakes of minor injuries |
Food should be packed like medication, not like an afterthought. Bring fast-acting carbohydrates for lows and slower carbohydrates for sustained activity. Glucose tablets are precise and freeze less readily than some snacks. Also carry familiar foods that fit your eating pattern, because mountain lodges, trail stops, and airports may have long gaps between reliable meal options.
Manage blood glucose actively at altitude
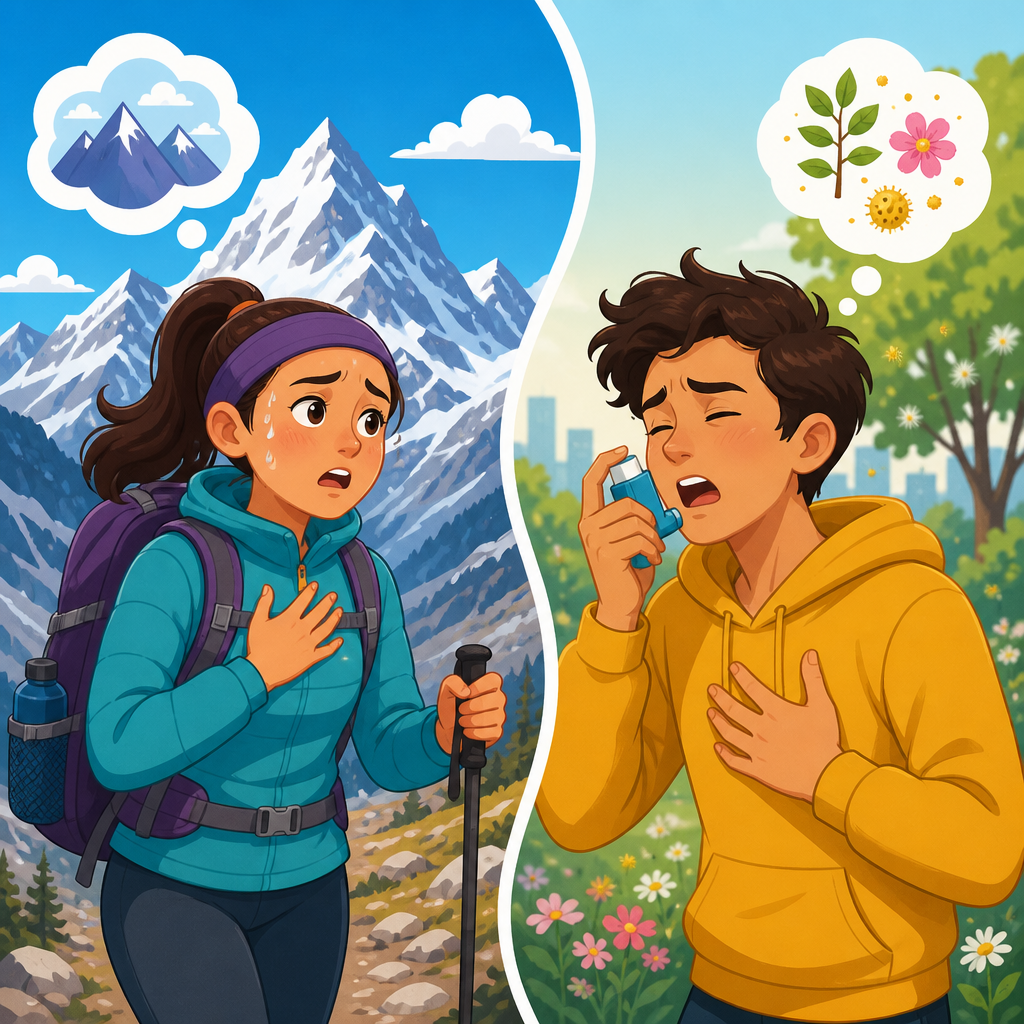
Mountain travel changes glucose patterns because multiple forces act in opposite directions. Hiking, skiing, climbing stairs, and carrying gear often lower glucose by increasing muscular glucose uptake. Countering that effect, altitude stress, poor sleep, infection, and high-adrenaline activities can raise glucose. In practice, many travelers see more variability than they expect. The answer is not guesswork; it is more frequent monitoring and structured adjustments.
Before strenuous activity, check your glucose and consider the trend. If you use insulin and are starting a long hike with glucose already falling, take carbohydrate early rather than waiting for symptoms. If you wear a pump, temporary basal reductions may help on active days, but the degree varies widely by person. People using multiple daily injections often need planned snacks and sometimes lower rapid-acting doses with meals before activity. These changes should be discussed before the trip, not improvised at 3,000 meters when decision-making is slower.
Hyperglycemia needs equal attention. High glucose combined with dehydration can worsen fatigue and impair physical performance. In type 1 diabetes, illness, missed insulin, or pump interruption can lead to ketone production and diabetic ketoacidosis, a medical emergency. At altitude, nausea and abdominal discomfort can be mistaken for mountain sickness, so checking glucose and ketones when you feel unwell is essential. If glucose remains high despite correction doses, hydration, and equipment checks, you need a lower threshold to stop ascending and seek medical care.
Device performance deserves respect. Most meters and sensors have manufacturer-specified operating ranges for temperature and altitude. Keep the meter and insulin close to your body in freezing weather, not in an outer pocket or car trunk. If a reading does not match symptoms, repeat it or confirm with another method. I have seen travelers assume they were altitude-sick when they were actually hypoglycemic, and I have seen the reverse. In the mountains, numbers and symptoms must be interpreted together.
Plan meals, hydration, and activity with mountain conditions in mind
Food timing is one of the most overlooked parts of a diabetes travel checklist for mountain environments. Long transit days, early lift lines, guided excursions, and remote roads often disrupt normal meal schedules. Build each day around predictable carbohydrate access. Eat breakfast even if altitude blunts appetite, because skipping it after taking insulin or sulfonylureas can set up an avoidable low. During hikes, aim for regular carbohydrate intake rather than waiting until you feel drained. Endurance athletes often use 30 to 60 grams of carbohydrate per hour during prolonged activity, but the right amount depends on body size, pace, insulin on board, and terrain.
Hydration is equally important. High altitude increases water loss through respiration, and cold dry air can hide thirst. Dehydration can concentrate blood glucose, worsen headache, and reduce exercise tolerance. Water should be the base, but for long activity, include electrolytes, especially if you sweat heavily. Be careful with alcohol. It contributes to dehydration, can mask hypoglycemia symptoms, and may delay recognition of serious problems at night after a day of skiing or trekking.
Mountain travel also changes digestion. Some people eat less because of nausea or altitude-related appetite suppression, while others rely on high-fat convenience foods that digest slowly and complicate insulin timing. If you use rapid-acting insulin, delayed gastric emptying from exertion, stress, or medications such as GLP-1 receptor agonists may shift your post-meal pattern. Simple travel meals often work best: known carbohydrates, moderate fat, reliable portions, and snacks stored where you can reach them without unpacking your entire bag.
Protect feet, skin, and circulation during cold-weather or trekking trips
Foot care becomes nonnegotiable in mountain settings. Diabetes can impair sensation, circulation, and wound healing, which means a small blister can progress faster than many travelers realize. Wear broken-in boots, not brand-new footwear bought for the trip. Choose moisture-wicking socks, change them when wet, and inspect your feet every day, including heels, toes, and the areas under metatarsal heads. If you have neuropathy, use a mirror or ask a companion for help. Treat hot spots immediately with blister protection, because continuing another ten kilometers can convert irritation into an open wound.
Cold creates a second problem. Reduced blood flow and numbness make it harder to detect pressure injury or frostnip early. Keep feet warm without making boots overly tight, because compression reduces circulation further. The same logic applies to hands if you do finger-stick testing outdoors. Warm your fingers before testing to improve blood flow and reduce inaccurate sampling problems.
Skin protection matters for technology users too. Sweat, sunscreen, friction from backpack straps, and dry air can all undermine sensor and infusion set adhesion. Clean and dry the site carefully, use barrier products if your skin tolerates them, and secure devices before long activity days. Rotate sites as usual; do not keep using a marginal location simply because changing it on the road feels inconvenient.
Prepare for emergencies and know when to stop
Every person with diabetes traveling in the mountains needs a written emergency plan. Your travel partner should know the signs of hypoglycemia, how to give fast carbohydrate, when to use glucagon, and when to call for rescue. Wear medical identification that clearly states diabetes and whether you use insulin. If you become confused, that information shortens the time to effective treatment.
Know the stop rules. Do not keep ascending if you have persistent vomiting, worsening shortness of breath at rest, severe weakness, confusion, chest pain, or inability to keep fluids down. For diabetes-specific triggers, stop and reassess if you have repeated lows, sustained high glucose with ketones, pump failure without a backup plan, or a foot injury that changes your gait. Continuing through these problems is how manageable situations become evacuations.
Medication storage and timing should also be part of the emergency mindset. Insulin should not freeze, and it should not sit in direct heat. If crossing time zones, long-acting insulin schedules may need adjustment; pump users generally transition more smoothly but still must watch basal timing after disrupted sleep and erratic meals. Keep one day of critical supplies on your person during transfers, not in an overhead bin you cannot reach or a vehicle loaded separately from you.
A mountain trip with diabetes succeeds when preparation is practical, not perfect. Understand how altitude, cold, exertion, and disrupted routines affect glucose. Review your plan before departure, pack redundant supplies, monitor more often, and treat food, hydration, and foot care as core medical tasks rather than side details. Most problems that derail travel begin as small oversights: one missed snack, one frozen meter, one ignored blister, one assumption that nausea is “just altitude.”
For a subtopic hub on diabetes within respiratory, cardio, and chronic conditions, the main lesson is clear: diabetes management in mountain environments is not a single tactic but a system. It includes medication reliability, technology backup, symptom interpretation, and realistic pacing. When these pieces work together, travelers can hike, ski, sightsee, and rest with far more confidence.
Use this checklist before your next mountain itinerary, then build out your plan with destination-specific guidance, your clinician’s advice, and the exact tools you use every day. Good preparation turns a high-risk scenario into a well-managed adventure.
Frequently Asked Questions
What should I pack differently for diabetes when traveling to high-altitude mountain destinations?
A mountain trip calls for a more deliberate diabetes packing strategy than a standard vacation because altitude, cold, increased activity, and limited access to pharmacies or medical help can all affect blood glucose management. In addition to your usual diabetes supplies, pack significantly more than you expect to use. A practical rule is to bring at least double your normal quantity of insulin, pump supplies, CGM sensors, test strips, lancets, pen needles, syringes, batteries, charging cables, and ketone testing materials. Delays, lost luggage, sensor failures, weather disruptions, and route changes are common travel problems, and they become more serious when you are far from familiar medical support.
Keep all diabetes supplies in your carry-on or daypack, never in checked luggage, because cargo holds may expose medications to temperature extremes and checked bags can be delayed or lost. Organize supplies into categories: daily use items, backup items, and emergency treatment items. Fast-acting glucose should be easy to reach at all times, not buried in the bottom of a bag. Pack multiple forms of treatment for low blood sugar, such as glucose tablets, gels, juice boxes, or candies that will not freeze or melt easily. Also bring longer-acting snacks like crackers, granola bars, trail mix, or peanut butter packets for situations when meals are delayed.
Cold-weather and altitude conditions make storage especially important. Insulin should be protected from freezing, as frozen insulin may lose effectiveness even if it later thaws. Use insulated pouches and keep insulin close to your body when temperatures drop. Devices can also behave differently in extreme conditions, so bring manual backup options, including a glucose meter even if you usually rely on a CGM, and insulin pens or syringes even if you use a pump. Finally, carry a written medication list, prescriptions, a brief doctor’s letter if needed, and medical identification stating that you have diabetes. In mountain environments, a well-built backup plan is not extra caution; it is essential preparation.
How can altitude, cold weather, and hiking affect blood sugar levels?
High-altitude travel can influence blood glucose in ways that are not always predictable, which is why close monitoring is so important. Some people notice higher readings at altitude because physical stress, reduced sleep, altitude-related illness, dehydration, and the body’s release of stress hormones can raise blood sugar. Others experience lower readings because hiking, carrying gear, climbing, and spending long hours on their feet increase glucose use. Many travelers see both patterns during the same trip: glucose may run high during the early adjustment period and then drop more easily once strenuous activity begins.
Cold weather adds another layer. The body works harder to stay warm, which may change insulin sensitivity and energy use. Appetite may be irregular, meals may be delayed, and hydration often becomes inadequate because people do not feel as thirsty in cool air. Dehydration can concentrate blood glucose and worsen fatigue, while strenuous exercise can lower glucose during activity and for hours afterward. If you are trekking, skiing, snowshoeing, or walking steep terrain, delayed hypoglycemia can occur later in the day or overnight, especially if insulin doses were not adjusted for the added exertion.
It is also important to remember that diabetes technology and symptoms may not behave exactly as expected in mountain conditions. Sensors, meters, and pumps can be affected by temperature and sometimes by environmental changes, so confirm unexpected readings with a backup meter if something does not match how you feel. Because symptoms of altitude sickness, dehydration, and hypoglycemia can overlap, do not assume dizziness, headache, shakiness, nausea, or fatigue are due to only one cause. Check your glucose early and often, pay attention to fluid intake, and be ready to make temporary adjustments with the guidance of your diabetes care team. In mountain travel, blood sugar management is usually less about one perfect setting and more about active observation and timely response.
How often should I check my blood sugar in the mountains, and what warning signs should I watch for?
When traveling in mountain environments, more frequent glucose checks are one of the smartest safety habits you can adopt. If you use a CGM, review trend arrows regularly rather than relying only on occasional alerts. If you use fingersticks, check before meals, before activity, during long hikes or exertion, after activity, before bed, and any time you feel “off.” On demanding days, it is wise to check every couple of hours, especially while you are still learning how your body responds to altitude and increased movement. If your routine at home is usually stable, do not assume it will stay stable at elevation.
The warning signs to watch for include both typical glucose symptoms and mountain-specific overlaps. Low blood sugar may cause sweating, shakiness, irritability, sudden fatigue, confusion, headache, poor coordination, or hunger. High blood sugar may present with increased thirst, dry mouth, frequent urination, blurry vision, fatigue, or nausea. The challenge is that altitude sickness and dehydration can also cause headache, weakness, lightheadedness, nausea, and reduced concentration. Because these symptoms overlap so much, checking your blood sugar promptly is safer than guessing.
You should also pay attention to patterns, not just isolated numbers. Repeated lows during hikes may mean you need more carbohydrates, a medication adjustment, longer rest stops, or changes to insulin timing. Persistent highs can be a sign of dehydration, underdosing, illness, stress, device problems, or insulin that has been damaged by freezing or heat. If blood glucose is staying high and you feel unwell, ketone testing becomes especially important, particularly for people using insulin. Severe fatigue, vomiting, shortness of breath, worsening confusion, or inability to keep fluids down are red flags that require urgent medical attention. In short, the mountains reward people who monitor early, monitor often, and act before a small issue becomes a serious problem.
How should I plan meals, snacks, and hydration for diabetes during mountain travel?
Food and fluid planning matter as much as medication planning in a mountain setting. Delayed meals are extremely common during travel days, road trips, ski outings, and hikes, so you should not depend on restaurants, lodges, or fixed schedules alone. Build a layered approach: carry immediate low-treatment carbohydrates for emergencies, plus balanced snacks that include carbohydrates, protein, and fat for more sustained energy. Examples include crackers with nut butter, cheese and whole-grain snacks, trail mix, protein bars, dried fruit paired with nuts, or sandwiches packed for the day. The goal is to avoid long gaps without food while also having enough quick carbohydrates if glucose drops unexpectedly.
Hydration deserves deliberate attention because dehydration can happen faster at altitude, even in cold weather. Dry air, heavier breathing, sweating under winter gear, and the reduced thirst response many people experience in cooler temperatures can all lead to inadequate fluid intake. Drink water consistently throughout the day instead of waiting until you feel thirsty. If you are engaging in prolonged physical activity, consider electrolyte replacement as well, especially if you are sweating heavily or experiencing appetite loss. Alcohol and excessive caffeine can complicate hydration and glucose management, so they should be approached carefully, particularly during the first days at altitude.
Meal timing can also influence your glucose more than usual in the mountains. Early starts, long transfer times, and outdoor excursions may shift your normal insulin-to-food routine. If you take insulin or other glucose-lowering medication, know your plan for missed or delayed meals before you leave. Some travelers do best with smaller, more frequent eating opportunities instead of relying on three standard meals. It is also wise to keep bedtime snacks available if you have had a physically demanding day, since overnight lows may become more likely after sustained exertion. The best nutrition plan for mountain travel is practical, portable, and flexible enough to keep your blood sugar supported even when the day does not go according to schedule.
What emergency precautions should I take if I have diabetes in a remote or high-altitude area?
Emergency preparation is especially important in mountain environments because distance, weather, limited cell service, and delayed transportation can all make small diabetes issues harder to solve. Start by making sure someone in your travel group knows that you have diabetes, where you keep your supplies, how to recognize low blood sugar, and what to do in an emergency. If you use glucagon, travel partners should know where it is stored and how to administer it. Wearing medical identification is strongly recommended, particularly if you are hiking, skiing, or joining guided excursions where responders may not know your history.
Prepare for equipment and medication failures as seriously as you prepare for glucose swings. Bring backup insulin delivery methods if you wear a pump, and bring a glucose meter if you normally rely on a CGM. Carry spare batteries, chargers, adhesive supplies, and protective storage solutions for temperature-sensitive items. Keep emergency carbohydrates in more than one location, such as your jacket pocket, backpack, and lodging. If you are going into a truly remote area, map out where the nearest clinic, pharmacy, or hospital is located before the trip begins, and understand whether local emergency services are easy to reach. A written action plan can be extremely helpful if you become ill, confused, or separated from your usual routine.
Know when not to “push through.” If you have repeated hypoglycemia, persistent hyperglycemia, moderate or large ketones, vomiting, severe weakness