Choosing the best water bottles for cold, high-altitude hikes is not just a comfort decision; it directly affects hydration, performance, and safety in environments where freezing temperatures, dry air, wind, and reduced oxygen accelerate fluid loss and impair judgment. In mountain travel, “cold” usually means conditions where water can freeze in an exposed container, while “high altitude” generally refers to elevations above about 8,000 feet, with more pronounced effects above 10,000. A good bottle in these settings must do three jobs at once: protect water from freezing, remain usable with gloves, and fit into a broader monitoring and oxygen strategy that helps hikers track how altitude is affecting the body. I have tested bottles on winter ascents, shoulder-season ridge traverses, and snow-covered trail days where the wrong lid design froze solid before lunch, and the pattern is consistent: the best choice depends less on brand hype than on insulation, cap mechanics, carry position, and how the bottle supports hydration checks alongside pulse oximeters, breathing rate awareness, and altitude symptom monitoring.
This matters because dehydration and altitude stress often overlap. At elevation, the air is colder and drier, respiration increases, and each breath sheds moisture. Many hikers also eat less, drink less, and underestimate sweat loss because evaporative cooling masks exertion. At the same time, the body may be coping with acute mountain sickness, disturbed sleep, and reduced exercise capacity. Monitoring and oxygen decisions therefore begin with basic field reliability: can you actually drink regularly, can you track whether hydration is slipping, and can you distinguish ordinary exertion from a developing altitude problem? The best water bottles for cold, high-altitude hikes support those answers by making frequent sips easier, preserving liquid access, and integrating well with pack systems, insulated sleeves, and winter routines. This article serves as a hub for the full monitoring and oxygen subtopic, covering bottle selection, hydration-linked altitude observation, oxygen saturation context, and the practical signals hikers should watch before small issues turn into emergencies.
What makes a water bottle suitable for cold, high-altitude hiking
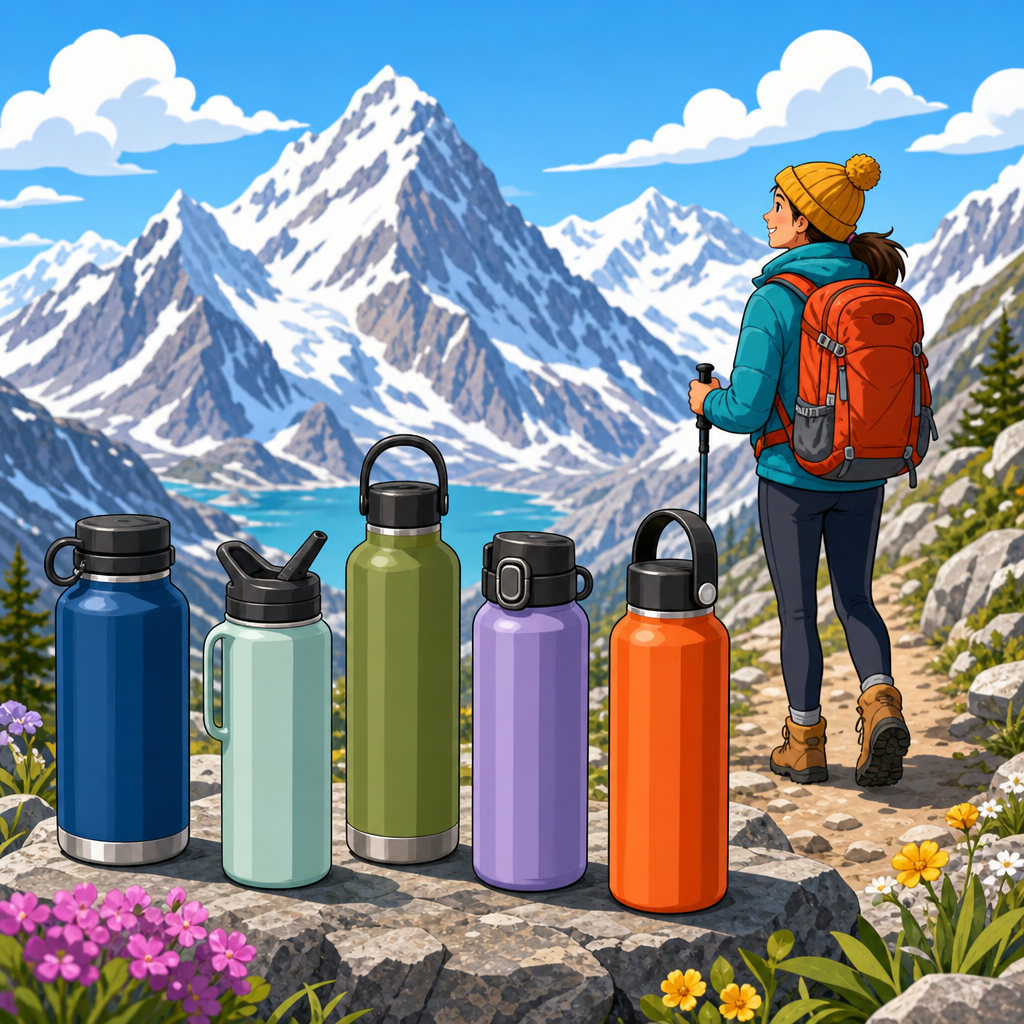
The best water bottles for cold, high-altitude hikes are usually rigid, insulated, simple to open, and resistant to lid freeze-up. Vacuum-insulated stainless steel bottles from makers such as Hydro Flask, Klean Kanteen, and YETI hold temperature well, but they are heavier and can make it harder to judge remaining volume by feel. Single-wall hard bottles such as Nalgene Wide Mouth remain popular because they are durable, tolerate hot water filling, and pair well with insulated sleeves, parkas, or upside-down carry methods that slow freezing from the top. Soft flasks and hydration reservoirs are useful in mild conditions, yet in subfreezing alpine weather their bite valves and hoses often ice first, which makes them less dependable unless carefully insulated and blown back after every sip.
Lid design is more important than many buyers expect. Straw caps are convenient at low elevation but are poor choices for freezing trail days because narrow passages freeze quickly. Narrow-mouth bottles can reduce slosh and are easier to sip from while moving, but wide-mouth bottles are easier to fill with hot water, mix electrolytes, and clear if ice forms around the threads. In practice, the most reliable setup for many hikers is a wide-mouth hard bottle with a simple screw cap. That combination tolerates abuse, works with gloves, and avoids tiny mechanisms. Weight still matters, especially above treeline, so the ideal balance is often one insulated bottle for immediate drinking and one lighter backup bottle carried in insulation inside the pack.
Best bottle types for hydration, monitoring, and oxygen-aware hiking
For cold, high-altitude hikes, bottle choice should support observation as well as hydration. A transparent bottle helps you track intake visually, which is useful when you are comparing how much you planned to drink against what you actually consumed. Opaque insulated bottles preserve temperature better, so many experienced hikers combine one visible measuring bottle with one insulated primary bottle. This matters in monitoring and oxygen workflows because poor intake can mimic or worsen altitude symptoms: headache, fatigue, dizziness, and poor concentration may come from dehydration, altitude stress, or both. If your bottle system lets you quantify drinking, your field decisions become clearer.
In my own winter kits, I divide bottles by role. One bottle carries warm water for steady sipping. Another may hold an electrolyte mix if the day is long or if I expect heavy breathing on sustained climbs. On bigger elevation days, that separation helps me notice whether I am avoiding fluids because the water is too cold, because the cap is inconvenient, or because nausea is developing. Those distinctions matter. If a hiker suddenly stops drinking, that is not just a comfort issue; it can be an early operational sign that cold exposure, altitude illness, or exhaustion is affecting behavior. The bottle is therefore part of your monitoring system, not separate from it.
| Bottle type | Strengths in cold, high altitude | Limitations | Best use case |
|---|---|---|---|
| Vacuum-insulated stainless steel | Excellent freeze resistance, keeps warm liquids usable, durable | Heavier, harder to gauge remaining volume, costlier | Primary drinking bottle on very cold summit days |
| Wide-mouth hard plastic bottle | Light, rugged, easy to fill with hot water, works with sleeves | Less insulation, threads can ice if exposed | Versatile all-around bottle for winter and shoulder seasons |
| Narrow-mouth hard bottle | Easier controlled sipping, less splash in wind | Harder to fill, harder to clear ice, limited cleaning access | Moderately cold hikes where access matters more than thermal performance |
| Soft flask | Lightweight, compresses as you drink, easy pack organization | Can freeze quickly, difficult with gloves, lower durability | Fast-and-light hikes in cool but not severe freezing conditions |
| Hydration reservoir | High capacity, convenient while moving | Hose and bite valve freeze first, harder to monitor intake | Best below freezing only with strong hose insulation and disciplined use |
How cold weather changes hydration needs at altitude
Many hikers drink too little in the cold because thirst sensation drops even when fluid demand rises. High-altitude air has low absolute humidity, so every exhalation carries away water. Ventilation also increases as oxygen availability falls, especially during steep efforts. Add heavy clothing, sweating under a shell, and the mild diuretic effect often seen during early altitude exposure, and the result is a real dehydration risk even on days that feel calm and cold. Wilderness medicine guidance consistently emphasizes that hydration supports performance and comfort, although it does not prevent altitude illness by itself. That distinction is important: drinking enough helps you function, but it is not a cure for poor acclimatization.
Because the symptoms overlap, hydration tracking belongs inside the broader monitoring and oxygen conversation. If a hiker reports headache at 11,000 feet, you should assess pace, food intake, fluid intake, urine color, weather exposure, and recent gain in sleeping elevation before blaming altitude alone. In the field, I watch for clustered signs rather than single data points: dry mouth, unusually dark urine, stubborn fatigue, irritability, and a bottle that is still nearly full by midday. These signs carry more meaning than a generic target like “drink constantly.” A practical plan is to schedule regular drinking intervals, use bottles with volume markers when possible, and pair intake checks with symptom checks at breaks. That structure makes it easier to catch both dehydration and emerging altitude problems early.
Monitoring and oxygen: what hikers should track on high-altitude days
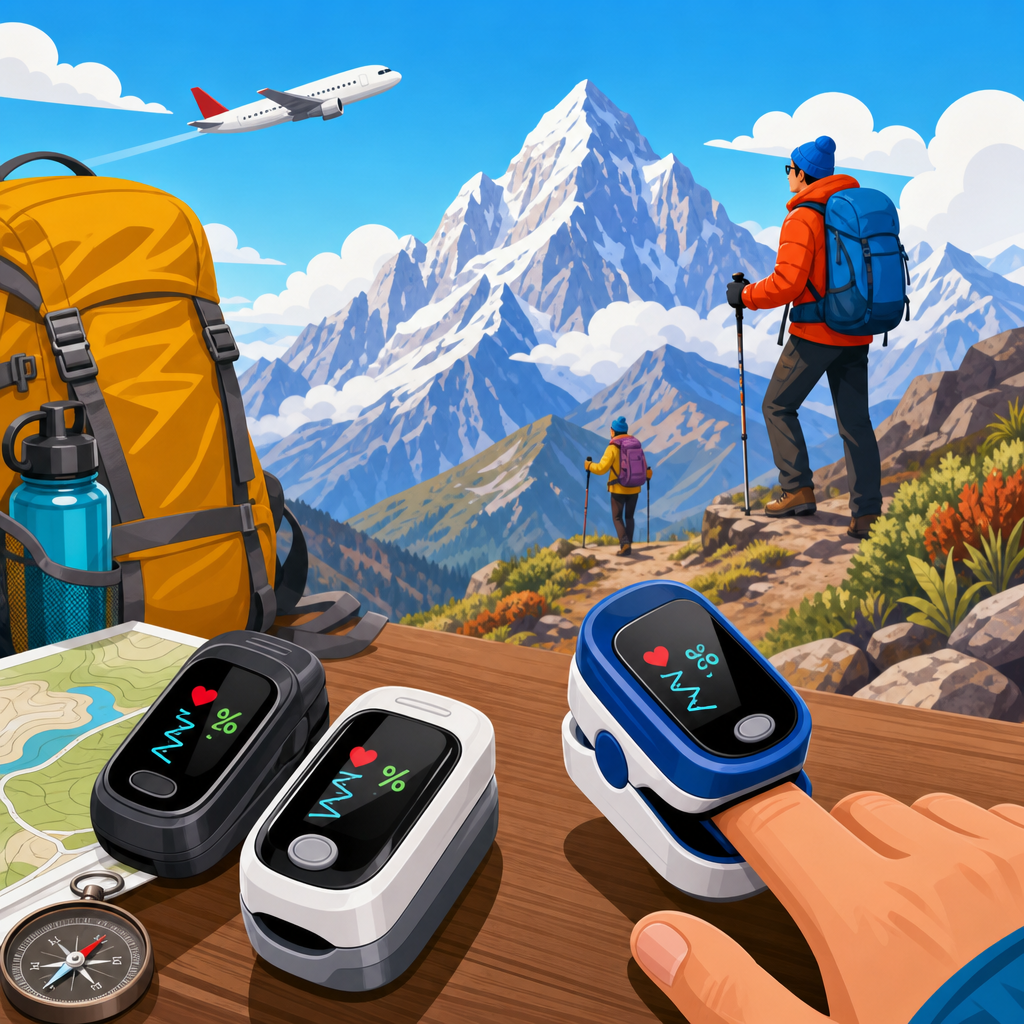
Monitoring and oxygen on high-altitude hikes means observing the body systematically rather than obsessing over one gadget. The core field checks are symptoms, pace tolerance, breathing pattern, mental clarity, coordination, hydration status, and, when available, pulse oximeter readings interpreted in context. Oxygen saturation numbers can be useful, but they vary with altitude, temperature, device quality, skin perfusion, nail polish, motion, and individual acclimatization. A low reading on a cold finger after a windy ascent may say more about vasoconstriction than about true clinical decline. Conversely, a “normal enough” number does not rule out serious altitude illness if the person has worsening headache, ataxia, confusion, or breathlessness at rest.
For hikers building a monitoring routine, the best approach is trend-based. Take a baseline saturation and resting heart rate at home or at trailhead if conditions allow. Recheck during the hike only when the reading can inform a decision: unexpected fatigue, disproportionate breathlessness, poor recovery at breaks, or concerning symptoms overnight on a backpacking trip. Named tools help here. Reliable fingertip pulse oximeters from brands commonly used by clinicians can be helpful, but they are adjuncts, not decision-makers. The Lake Louise Score is widely recognized for assessing acute mountain sickness symptoms, and simple talk tests or timed recovery observations can reveal declining function faster than a single oxygen number. Good water bottle systems support this process because regular hydration breaks create natural moments to ask, “How is everyone feeling, thinking, and moving?”
Practical bottle setups for summit pushes, winter day hikes, and alpine overnights
Different objectives call for different bottle systems. On a short winter day hike below about 12,000 feet, one insulated bottle of warm water plus one backup hard bottle is usually enough. Carry the spare upside down in an insulated sleeve inside the pack, because surface ice typically forms first near the lid. On a summit push in sustained subfreezing wind, I prefer two bottles that can each function independently, so if one cap freezes or is dropped, the other remains usable. For alpine overnights, wide-mouth bottles become even more valuable because they can be filled with hot water at camp, used to prevent freezing overnight, and in some cases placed inside a sleeping bag to protect liquid and add warmth.
Capacity should match both route length and monitoring needs. If you are relying on melted snow, fuel planning becomes part of hydration planning. If you are carrying all water, the tradeoff shifts toward weight. For many hikers, a total of one to two liters is adequate for a cold day hike, but steep gains, dry wind, and altitude can push needs higher. Electrolytes may help maintain palatability and encourage drinking, though strong mixes can freeze differently and may leave residue in complex caps. This is another reason simple bottles outperform intricate lids in winter. Real-world reliability is the standard. A bottle that insulates slightly less but opens instantly with mittens is better than a technically impressive design that fails when iced.
Common mistakes when choosing the best water bottles for cold, high-altitude hikes
The most common mistake is choosing convenience over winter function. Hikers often bring the same soft flask or hydration hose they use in summer and assume insulation sleeves will solve everything. In reality, hoses freeze fast, especially during stops. Another mistake is carrying only one bottle. Redundancy matters in the cold because a dropped cap, cracked bottle, or frozen opening can remove your only water source at the exact moment you need it. I also see people ignore carry position. An exposed side pocket may be perfect on a spring trail but disastrous on a windy ridge where chill strips heat from the bottle.
A subtler error is treating oxygen monitoring as gadget management rather than field assessment. Pulse oximeters can create false confidence or unnecessary alarm. The better practice is to integrate all observations: fluid intake, appetite, urine output, headache progression, sleep quality, and how well someone can maintain a conversational pace. If your bottle setup discourages drinking, your monitoring data degrade too, because dehydration muddies the picture. The best water bottles for cold, high-altitude hikes are therefore the ones that keep hydration simple enough that symptom interpretation stays cleaner and decisions become more accurate.
The best water bottles for cold, high-altitude hikes combine freeze resistance, glove-friendly access, and compatibility with a disciplined monitoring and oxygen routine. Wide-mouth hard bottles and vacuum-insulated bottles consistently outperform more delicate systems when temperatures drop, especially when paired with insulated sleeves, upside-down carry, and warm fluids. Just as important, your bottle choice should help you observe hydration rather than guess at it. At altitude, dry air, increased breathing, and cold-suppressed thirst make underdrinking common, and that can blur the line between ordinary fatigue and a developing problem.
Use your bottles as part of a larger mountain safety system. Track intake, appetite, urine color, pace tolerance, and symptom trends. Treat pulse oximeter readings as supporting information, not verdicts. If headache worsens, coordination drops, confusion appears, or breathlessness develops at rest, descend and escalate care rather than trying to solve the issue with more water alone. The main benefit of choosing the right bottle is straightforward: you protect reliable access to hydration in the exact conditions where hydration is hardest to maintain and most important to assess. Build a bottle setup before your next high-altitude trip, test it in freezing local conditions, and let that field practice shape the rest of your monitoring and oxygen kit.
Frequently Asked Questions
What features matter most in a water bottle for cold, high-altitude hikes?
The best water bottle for cold, high-altitude hikes should do more than simply carry water. It needs to help prevent freezing, remain easy to use with cold hands or gloves, fit securely in your pack or side pocket, and hold up to rough mountain conditions. Insulation is one of the most important features because exposed water can freeze quickly in subfreezing temperatures, especially when wind chill is a factor. Double-wall insulated bottles slow heat loss much better than single-wall bottles, although they are usually heavier. If weight is a major concern, some hikers use a lighter bottle combined with an insulated sleeve to balance performance and packability.
Lid design also matters more than many people realize. Narrow-mouth bottles generally reduce heat loss and are less likely to spill, while wide-mouth bottles are easier to fill, clean, and use with drink mixes. In freezing weather, however, wide openings can ice over faster if left exposed. A reliable cap that seals tightly is essential, since leaks inside a pack can create serious problems in cold conditions. Many experienced hikers prefer simple screw-top lids because they are less prone to freezing or breaking than bite valves, straws, and flip-top mechanisms.
Material is another key consideration. Stainless steel insulated bottles are excellent for keeping liquids from freezing, but they are heavier and bulkier. Plastic bottles are lighter and often easier to squeeze or stash, but they provide less temperature protection unless paired with insulation. Durability is critical at altitude, where gear is often dropped on rock, clipped to packs, or exposed to repeated freeze-thaw cycles. In short, the ideal bottle for this environment combines freeze resistance, dependable sealing, practical usability with gloves, and a weight profile that matches the length and difficulty of your hike.
Are insulated stainless steel bottles better than lightweight plastic bottles for alpine hiking?
It depends on your priorities, because both have clear advantages in cold, high-altitude environments. Insulated stainless steel bottles are usually better at preventing water from freezing, which can make a major difference on winter ascents, exposed ridge hikes, and long days above treeline. They also protect liquid temperature more consistently in windy conditions and can be especially useful when you want to carry warm water or a hot electrolyte drink. For very cold outings, that thermal performance can improve comfort and encourage more frequent drinking, which is important because people often underestimate dehydration at altitude.
Lightweight plastic bottles, however, remain popular for good reason. They reduce pack weight, are easy to replace, and often fit well in backpack pockets. They can also be stored upside down in an insulated sleeve so that any freezing starts near the base rather than sealing the opening shut first. For hikers who prioritize speed, minimalism, or long mileage, a lightweight bottle system may make more sense than carrying heavier insulated steel. Plastic also tends to be less uncomfortable to handle with bare skin in very cold weather, whereas exposed metal can feel brutally cold.
The tradeoff is that lightweight plastic bottles need more active management. You may need to store them inside your pack, protect them with insulation, and refill them with relatively warm water at the trailhead. If temperatures are only moderately cold, this approach often works well. If conditions are severely cold or you will be out for many hours above 10,000 feet, insulated stainless steel may provide more reliability. Many mountain hikers ultimately use a hybrid strategy: one insulated bottle for dependable liquid access and one lighter backup bottle for extra capacity.
How can I keep water from freezing during a cold, high-altitude hike?
Preventing freezing starts before you even leave the trailhead. Filling your bottle with warm, not boiling, water gives you a head start because the liquid begins above ambient temperature. Using an insulated bottle or adding an insulating sleeve significantly slows freezing, especially in exposed alpine terrain where wind strips heat quickly. Bottle placement matters too. A bottle carried inside your pack, near extra clothing or close to your back, usually stays liquid longer than one riding in an exterior mesh pocket. If you do carry a bottle outside, keeping it upside down can help because water tends to freeze from the top first, and that reduces the chance of the drinking opening freezing shut.
Simple usage habits make a big difference over the course of a hike. Drink regularly instead of saving your water for long breaks, because frequent movement of the liquid and repeated opening and closing can reduce localized ice formation. Avoid leaving the bottle sitting exposed during rests, especially on snow or rock. If you stop for lunch, tuck the bottle into your jacket, pack, or an insulated pouch. For very cold days, some hikers carry one bottle with warm water and another with a sports drink, since added solutes can slightly lower the freezing point, though this should not be treated as a complete solution.
It is also wise to avoid hydration systems with hoses in truly freezing conditions unless you are highly disciplined about blowing water back into the reservoir after every sip. Tube freeze-up is one of the most common cold-weather hydration failures. In many alpine settings, a bottle is more reliable than a bladder. The overall goal is not just to keep water liquid, but to make it easy enough to access that you continue drinking consistently, because dehydration happens faster at altitude than many hikers expect.
How much water should I carry for a high-altitude hike in cold weather?
There is no single perfect amount for every person or route, but hikers often need more water at altitude than they assume, even when temperatures are low. Cold weather can suppress thirst, yet high-altitude air is typically very dry, and breathing harder in thinner air increases respiratory fluid loss. Wind, exertion, sun exposure reflecting off snow or rock, and heavier clothing layers can all contribute to dehydration. As a result, many hikers perform best when they plan intentionally rather than simply drinking when they feel thirsty.
A practical starting point is to consider hike duration, elevation gain, pace, and whether there will be reliable opportunities to refill or melt snow. For shorter day hikes, some people may be fine with around 0.5 liters per hour, while longer, steeper, or more demanding efforts may push needs closer to 0.75 liters per hour or more. Those are planning estimates, not rigid rules. If you know you sweat heavily, acclimatize poorly, or tend to get headaches at elevation, carrying extra water is usually smarter than cutting it close. On very cold days, warm fluids can also increase your willingness to drink, which can improve overall hydration.
It is equally important to think about access and contingency. Carrying enough water is only useful if you can actually drink it, so your bottle setup must resist freezing and be easy to reach without major stops. If your route includes known water sources, remember that filters can be affected by freezing and streams may be inaccessible under snow or ice. For remote or exposed hikes above 8,000 to 10,000 feet, many hikers build in a safety margin rather than planning to finish with empty bottles. Good hydration at altitude supports energy, decision-making, temperature regulation, and overall safety, so conservative planning is usually the better choice.
What is the best bottle setup for a full day of cold, high-altitude hiking?
For most full-day alpine hikes, the most effective setup is not a single bottle but a small system that balances freeze protection, capacity, redundancy, and ease of use. A common and highly practical approach is to carry one insulated primary bottle for immediate drinking access and one secondary bottle for reserve water. The primary bottle should be the easiest to reach and the most resistant to freezing, since it is the one you will rely on throughout the day. The backup bottle can be lighter, stored deeper in the pack, and protected with clothing or an insulating sleeve. This two-bottle approach also reduces risk if one cap leaks, one bottle freezes partially, or one container is dropped or damaged.
For especially cold or high routes, many hikers prefer a narrow-mouth insulated bottle as their primary container because it offers strong thermal performance and usually seals well. Some like to fill it with warm water or a warm electrolyte drink to encourage steady sipping. A second lightweight bottle can increase total capacity without adding too much weight. If you anticipate a very long day, limited refill options, or above-treeline exposure for hours, this mixed setup often works better than relying entirely on either heavy insulated bottles or ultralight uninsulated ones.
The best setup also depends on how you actually hike. If you stop often and access your pack easily, storing bottles inside the pack may be fine. If you prefer continuous movement, choose a bottle that fits a shoulder strap pocket, chest pouch, or insulated side holster so you can drink frequently without major breaks. In mountain travel, the winning system is the one that keeps water liquid, accessible, and appealing to drink from morning to summit to descent. Reliability matters more than trendiness, and small details like lid simplicity, glove-friendly handling, and protected storage often make the biggest real-world difference.