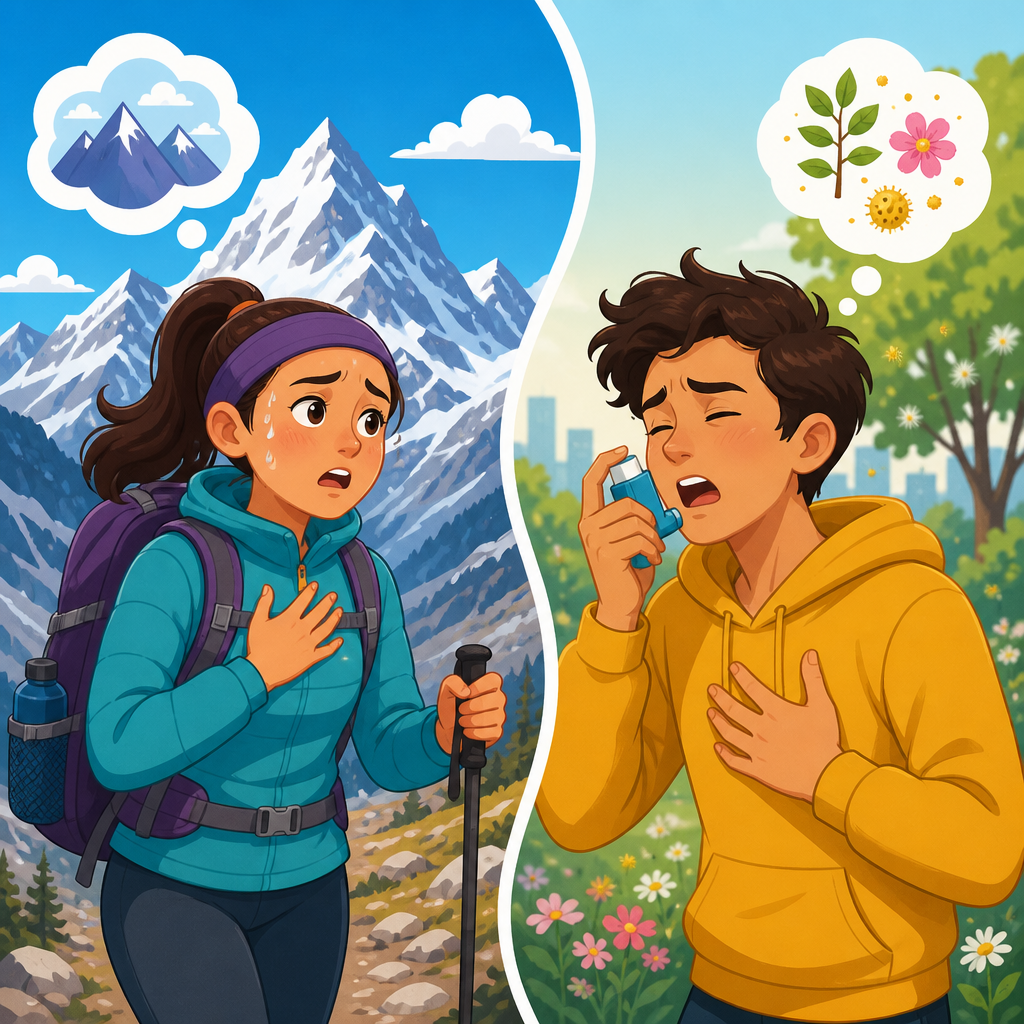
Planning a high-altitude hike with asthma starts long before the trailhead, and the best warm-up routine for asthma before hiking at altitude is one that steadily raises ventilation, protects the airways from sudden cold dry air, and fits the person’s medication plan. Asthma is a chronic inflammatory condition of the airways that can cause wheezing, chest tightness, cough, and shortness of breath. Altitude usually refers to elevations above about 5,000 feet, where oxygen pressure drops and breathing demand rises. For hikers with asthma, that combination matters because exertion, cold air, allergens, smoke, and respiratory infections can all narrow the bronchi right when the body needs more airflow. I have worked with endurance athletes and recreational hikers who assumed fitness alone would solve the problem, yet their symptoms often appeared during the first steep climb because they skipped a structured warm-up. A proper routine reduces the abrupt ventilation spike that commonly triggers exercise-induced bronchoconstriction. It also gives you time to assess how your lungs feel before committing to a long ascent. This article serves as a hub for asthma within the broader respiratory and chronic conditions topic, so it covers the warm-up itself, medication timing, altitude-specific risks, gear, pacing, and the situations that mean turning back is the safer call.
The key terms are straightforward. Exercise-induced bronchoconstriction describes temporary airway narrowing brought on by exertion, whether or not someone has daily asthma symptoms. Rescue inhaler usually means a short-acting beta agonist such as albuterol, used for quick relief. Controller medicines, including inhaled corticosteroids or combination inhalers, reduce ongoing airway inflammation and lower the chance of flare-ups over time. Acclimatization is the body’s adjustment to reduced oxygen at higher elevation. Peak flow is a simple home measurement of how quickly you can exhale, useful for some people who follow an asthma action plan. Understanding those terms helps because altitude hiking places several stressors on the lungs at once. Air is often colder and drier, trails can include pollen or dust, wildfire smoke can drift in unexpectedly, and steep grades can push effort above a safe threshold very fast. A warm-up is not just “getting loose.” It is a respiratory strategy designed to open the chest, ease the transition into work, and create a more stable breathing pattern before the hard effort begins.
Why altitude changes the asthma equation
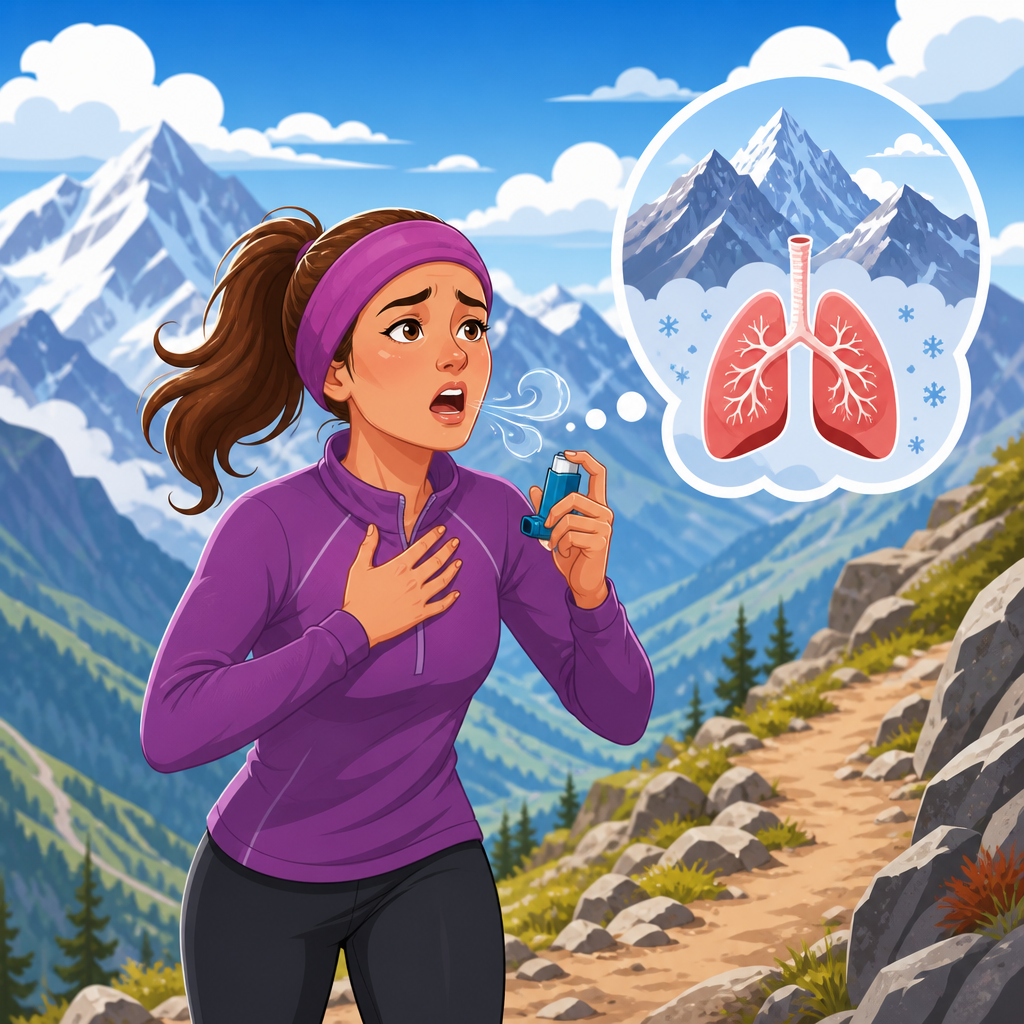
At altitude, the body compensates for lower oxygen availability by increasing breathing rate and depth. That extra ventilation can dry and cool the airways, which is a classic trigger for bronchoconstriction. On a flat walk at sea level, many people with asthma can settle into a comfortable rhythm quickly. On a mountain trail at 8,000 to 10,000 feet, the same person may breathe much harder within minutes, especially if the route starts steeply. In my experience, this first ten to twenty minutes is where preventable symptoms often begin. The hiker starts cold, breathes through the mouth, overstrides, and chases the pace of the group. The lungs are asked to do too much too soon.
Altitude also complicates symptom interpretation. Breathlessness from thin air can feel similar to early asthma. A cough could come from cold dry air, a viral illness, reflux, or airway irritation from smoke. Headache, dizziness, fatigue, and nausea may point to acute mountain sickness rather than poor fitness. Because signs overlap, the safest approach is to build margin into the start of the hike. A gradual warm-up helps reveal whether breathing is stabilizing normally or trending toward wheeze, chest tightness, and persistent cough. If symptoms escalate during this controlled phase, it is far easier to pause, treat, or abandon the effort than to do so an hour into an exposed climb.
The best warm-up routine for asthma before hiking at altitude
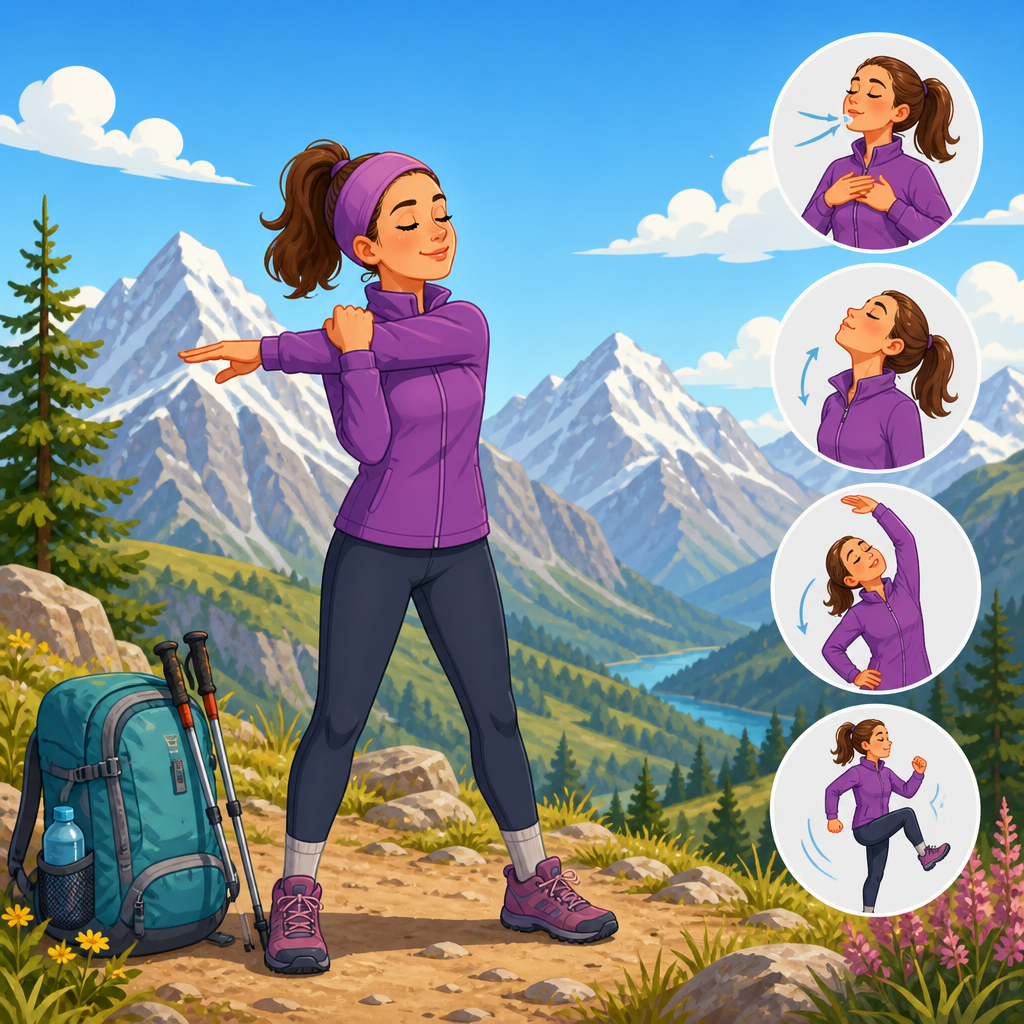
The best routine lasts about fifteen to twenty-five minutes and begins before you hit the main climb. Start with five minutes of easy walking on level ground while breathing through the nose as much as possible. Nasal breathing warms and humidifies incoming air better than mouth breathing, though you should not force it if you feel air hungry. Follow that with three to five minutes of mobility work: shoulder rolls, thoracic rotations, arm swings, gentle side bends, ankle circles, and ten slow sit-to-stands or bodyweight step-ups. These movements improve posture and rib cage motion without spiking heart rate.
Next comes the most important piece: interval-based priming. Do four to six rounds of thirty to sixty seconds at a moderate effort, followed by sixty to ninety seconds very easy. On trail, that may mean walking briskly uphill to the point where speaking full sentences becomes slightly harder, then slowing enough to fully recover. This pattern can create a short-lived refractory effect in some people with exercise-induced bronchoconstriction, meaning the airways may be less reactive during the subsequent workout. Finish with three to five minutes of easy walking, check your breathing, and only then start the sustained ascent. If the weather is cold, keep a buff or mask over the mouth and nose during the warm-up to trap moisture and heat. If your clinician has advised using albuterol before exercise, take it exactly as prescribed, commonly ten to fifteen minutes before the harder segment rather than after symptoms start.
| Warm-up phase | Duration | What to do | Why it helps asthma at altitude |
|---|---|---|---|
| Easy start | 5 minutes | Flat or gentle walking, relaxed nasal breathing | Warms and humidifies air, avoids sudden ventilation spike |
| Mobility | 3 to 5 minutes | Thoracic rotation, arm swings, sit-to-stands, ankle circles | Improves posture and chest expansion without heavy effort |
| Priming intervals | 8 to 12 minutes | 4 to 6 rounds of 30 to 60 seconds moderate, 60 to 90 seconds easy | Builds effort gradually and may reduce exercise-induced bronchoconstriction |
| Settle phase | 3 to 5 minutes | Very easy walking, symptom check, inhaler reassessment if needed | Confirms stability before committing to the climb |
Medication timing, monitoring, and pre-hike preparation
No warm-up routine replaces an asthma management plan. If you use a controller inhaler, the first rule is consistency. Poorly controlled baseline inflammation makes altitude exercise much less predictable. Before a trip, review your plan with a clinician if you have had recent exacerbations, nighttime symptoms, emergency visits, or increasing rescue inhaler use. Confirm inhaler technique; I routinely see hikers who carry the right medicine but get poor drug delivery because they inhale too fast, skip a spacer when one is recommended, or use an expired canister. The Global Initiative for Asthma emphasizes individualized treatment and symptom control, and that principle is especially important when exertion and altitude are combined.
For monitoring, some hikers benefit from recording symptoms, rescue inhaler use, and morning peak flow in the days before a trip. If peak flow is substantially below personal best or you are recovering from a chest infection, postponing is often the prudent choice. Pack your rescue inhaler where you can reach it while walking, not buried in a pack brain. Tell hiking partners where it is and what your warning signs look like. If you use biologics, leukotriene receptor antagonists, or a maintenance-and-reliever regimen, your warm-up still matters, but medication timing may differ. The point is to align the routine with your prescribed plan, not improvise on the mountain.
Pacing, breathing technique, and terrain strategy on the trail
After the warm-up, the next defense is disciplined pacing. The safest early-hike intensity for many people with asthma is conversational pace. If you can speak in short full sentences, you are usually below the red zone. If every answer becomes a few clipped words, slow down. On steep grades, shorten your stride and use a rest-step rather than powering upward. Trekking poles can help distribute effort and keep the torso more upright, which often makes breathing feel easier. I have seen hikers eliminate the “first climb flare” simply by refusing to surge out of the parking lot with the fastest person in the group.
Breathing technique also matters. Nose breathing is ideal at low to moderate intensity because it humidifies air and may reduce airway irritation. As effort rises, combine nasal inhale with pursed-lip exhale or shift naturally to mouth breathing without gasping. Pursed-lip breathing can lengthen exhalation and reduce the panicky sensation that develops when someone starts breathing too fast. Choose switchbacks over direct steep lines when possible, and take brief standing recoveries before you are desperate for one. Hiking with asthma at altitude is rarely limited by one dramatic mistake; it is usually the sum of small, manageable decisions.
Weather, allergens, smoke, and gear that protect the airways
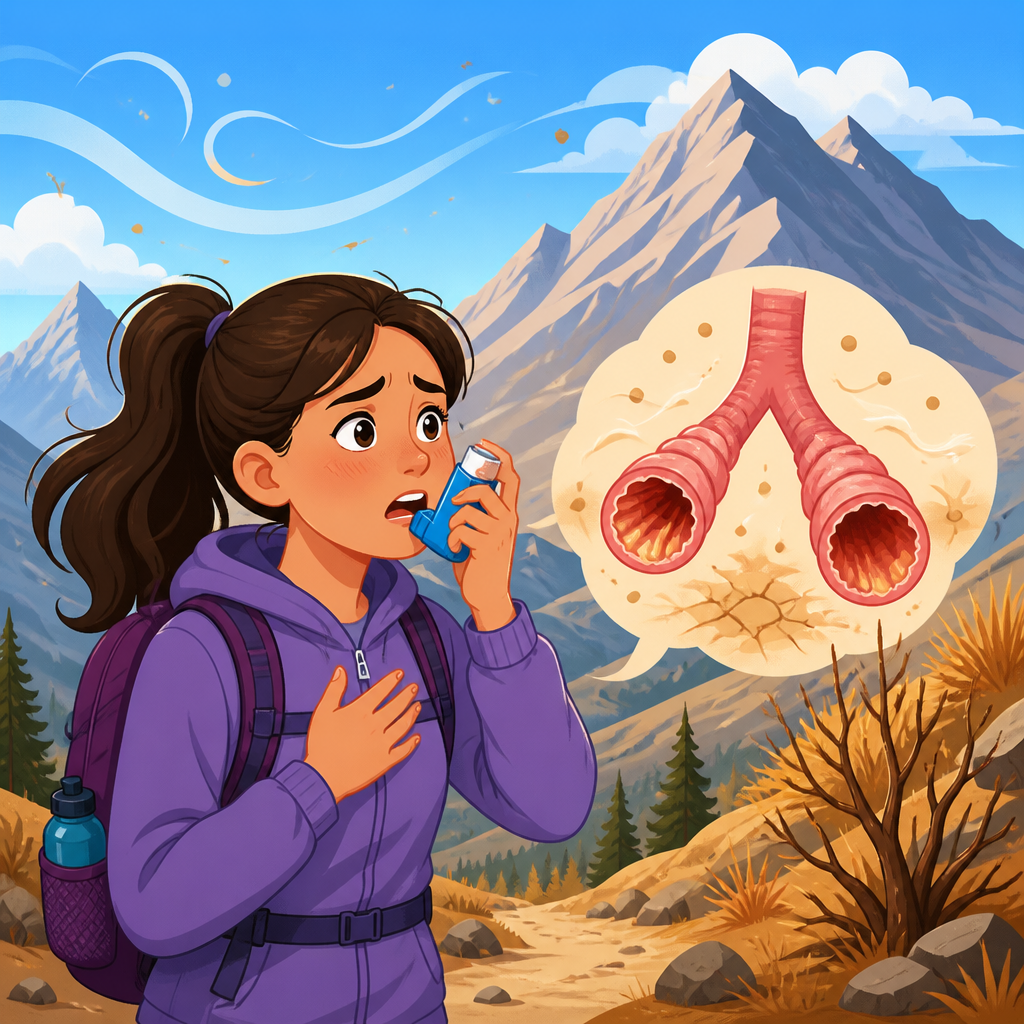
Environmental control is part of the warm-up strategy because the lungs respond to what they breathe before and during exertion. Cold dry air is one of the strongest exercise-related asthma triggers, so cover the mouth and nose with a buff, fleece neck gaiter, or cold-weather mask during the first part of the hike. The fabric traps warmth and moisture from exhaled air, making the next breath less irritating. In spring and summer, pollen counts can peak in the morning or on windy days, while dusty trails and horse traffic add particulate exposure. Wildfire smoke is an increasingly common problem in mountain regions, and even low to moderate Air Quality Index readings can be enough to provoke symptoms in sensitive hikers.
Check forecasts the night before and again at the trailhead using a reliable weather app, local mountain forecast, and air quality source such as AirNow. Sunglasses and a hat can reduce eye irritation that often accompanies pollen exposure, and hydration matters because dry air increases fluid loss through breathing. If you know a specific trigger, plan around it. Start later if the morning is frigid, choose a forested route instead of an exposed dusty ridge, or move the hike after a storm has cleared smoke. Good gear and route choice will never make severe asthma irrelevant, but they often turn a borderline day into a comfortable one.
When not to hike, and how this hub connects the wider asthma picture
Do not hike at altitude with asthma if symptoms are unstable at rest, you are using your rescue inhaler more often than usual, or you recently had a respiratory infection that still leaves you coughing or tight-chested. Also reconsider if weather, smoke, or cold exposure are extreme, or if the route has no easy turnaround point. Red flags on the trail include wheezing that does not settle with rest and prescribed medication, chest tightness that returns quickly, unusual fatigue, blue lips, confusion, or difficulty speaking. Those signs call for stopping and, if severe, emergency care. Altitude illness symptoms such as severe headache, vomiting, ataxia, or worsening breathlessness at rest should also be taken seriously, because not every breathing problem on a mountain is asthma.
As a hub page for asthma, this topic extends beyond a single warm-up. Long-term control depends on trigger identification, controller adherence, action plans, vaccination, sleep, reflux management when relevant, and conditioning that builds aerobic capacity without repeated flare-ups. Related topics naturally include exercise-induced bronchoconstriction, hiking with inhalers, cold-weather breathing strategies, asthma and wildfire smoke, recognizing altitude illness versus asthma, and choosing safe turnaround rules. The main takeaway is simple: the best warm-up routine for asthma before hiking at altitude is gradual, interval-based, and matched to a personal medication plan. Use it every time, respect the environment, and be willing to slow down or turn back. If you have not reviewed your plan recently, schedule that conversation before your next mountain day.
Frequently Asked Questions
What is the best warm-up routine for asthma before hiking at altitude?
The best warm-up routine for asthma before hiking at altitude is gradual, controlled, and long enough to prepare both the lungs and the rest of the body for thinner air and colder, drier conditions. For most people, a good pre-hike warm-up lasts about 10 to 20 minutes and starts with very easy movement rather than jumping straight into a steep climb. Begin with relaxed walking on flat ground for 5 to 10 minutes, focusing on steady nasal breathing when possible, because breathing through the nose helps warm and humidify the air before it reaches the airways. Then add gentle mobility work such as shoulder rolls, arm circles, torso rotations, ankle circles, calf raises, and slow marching to get circulation moving without making breathing suddenly intense.
After that, increase effort in small steps. For example, walk a little faster for 1 to 2 minutes, then slow down for 1 minute, and repeat that cycle several times. This kind of progressive warm-up can be especially useful for people with exercise-induced bronchoconstriction because it may reduce the chance of airway tightening when the main hike begins. Finish with a few minutes at the pace you expect to use on the trail. The goal is not to feel exhausted or breathless before you even start hiking. The goal is to raise ventilation gradually, loosen the muscles, and give the airways time to adjust.
At altitude, this matters even more because oxygen pressure is lower, so the body naturally breathes more. If you start too hard, you may provoke coughing, wheezing, chest tightness, or early fatigue. A smart routine also includes practical protection: keep a buff, neck gaiter, or mask over your mouth and nose in cold or windy weather to warm inhaled air, stay hydrated, and make sure any prescribed rescue inhaler is easy to reach. A warm-up is most effective when it is part of an overall asthma plan rather than a stand-alone trick.
How does altitude affect asthma, and why should the warm-up be different from a sea-level hike?
Altitude changes the demands placed on breathing, which is why a warm-up for hiking high above sea level should be more deliberate than one used at lower elevations. Once you get above roughly 5,000 feet, the air contains less available oxygen pressure, so the body compensates by increasing breathing rate and depth. That extra ventilation can dry and irritate the airways, especially if the air is cold, windy, or very dry. For someone with asthma, those conditions can make symptoms more likely, particularly during abrupt exertion.
That does not automatically mean altitude is unsafe for every person with asthma, but it does mean preparation matters. A sea-level warm-up might be short and casual because the lungs are not being challenged in the same way. At altitude, the warm-up should be slower and more progressive so the respiratory system is not shocked by a sudden jump in demand. The body also may feel normal at rest but respond very differently once uphill movement starts. A gradual warm-up helps you identify early warning signs such as unusual breathlessness, prolonged coughing, chest tightness, or difficulty speaking in full sentences before you are far from the trailhead.
Another reason the warm-up should be different is that symptoms related to altitude itself can overlap with asthma symptoms. Breathlessness from exertion, mild lightheadedness, and increased respiratory effort may happen even in healthy hikers, while wheezing, chest tightness, or cough may point more toward asthma. Starting slowly gives you a better baseline and makes it easier to tell whether your lungs are adapting normally or whether your asthma may be flaring. That distinction is important because pushing through true asthma symptoms at altitude is not a good strategy. A careful warm-up helps you pace the day, protect your airways, and make safer decisions early.
Should I use my rescue inhaler before warming up and starting a high-altitude hike?
Many people with asthma are advised to use a rescue inhaler before exercise, but the right plan depends on the individual and should follow guidance from a clinician who knows your asthma history. If you have been instructed to use a short-acting bronchodilator before activity, take it exactly as prescribed and allow enough time for it to work before beginning your warm-up. For some hikers, this is a key part of preventing exercise-induced symptoms, especially in cold air or at altitude where increased breathing can irritate the airways more quickly.
What matters most is not guessing on the day of the hike. If you have frequent symptoms with exercise, a history of exercise-induced bronchoconstriction, recent flare-ups, or uncertainty about how altitude affects you, it is wise to discuss the trip in advance with your healthcare professional. That conversation may include whether to use a rescue inhaler before exertion, whether your controller medication is optimized, and what symptoms should trigger stopping, resting, or descending. If you have a written asthma action plan, use that as your guide.
Even if pre-exercise medication is part of your routine, it should not replace a gradual warm-up. The two strategies work best together. Medication may help open the airways, while the warm-up helps reduce sudden stress on them. Always carry your rescue inhaler somewhere immediately accessible, not buried deep in a pack, and check that it is not expired. If symptoms start during the warm-up despite following your plan, that is useful information. It may mean conditions are too harsh, the pace is too aggressive, your asthma is not fully controlled, or the hike may need to be shortened or postponed.
What should I do if I start coughing, wheezing, or feeling chest tightness during the warm-up?
If you develop coughing, wheezing, chest tightness, or unusual shortness of breath during the warm-up, the first step is to slow down or stop and assess how quickly the symptoms settle. Do not assume it is something to push through, especially at altitude where respiratory stress is already higher. Move to a more sheltered spot if wind or cold exposure is intense, and cover your mouth and nose with a buff or gaiter to help warm the air you inhale. Focus on calm, controlled breathing rather than trying to force deep breaths.
If you have a clinician-directed asthma action plan, follow it. That may include using your rescue inhaler as prescribed. If symptoms improve promptly and fully, it may be reasonable to continue only at a much easier pace, with close attention to how you feel. If symptoms return quickly, remain significant, or worsen, it is safer to stop the ascent. Persistent wheezing, increasing chest tightness, difficulty speaking, visible distress, bluish lips, or poor response to rescue medication are signs that the situation is more serious and should not be ignored.
At altitude, it is also important to think clearly about the environment and the effort level. Cold dry air, a fast start, heavy pack weight, dust, smoke, pollen, or a recent respiratory infection can all make symptoms more likely. Sometimes the right choice is not a tougher warm-up but a different day, a lower elevation, a later start when air is warmer, or a gentler route. Hiking is optional; breathing comfortably is not. If symptoms during warm-up are unusual for you, recurrent, or difficult to control, get medical advice before attempting another high-altitude hike.
Besides warming up, what else can I do to reduce asthma symptoms before and during a high-altitude hike?
A good warm-up is only one part of preparing well for a high-altitude hike with asthma. Symptom prevention starts with overall asthma control. If your asthma has been unstable, you have been waking at night with symptoms, using your rescue inhaler more often than usual, or recovering from a recent flare or respiratory infection, it is smart to reassess the trip. Hiking at altitude is more comfortable and safer when your baseline control is solid. Reviewing your medication plan ahead of time, packing enough medication, and making sure you know when to use it are all just as important as stretching your calves or walking easy for ten minutes.
Environmental protection also matters. Cold, dry air is a common trigger because it can cool and dehydrate the airways. Wearing a buff, scarf, or mask over the mouth and nose can reduce that effect, particularly early in the morning or on windy ridgelines. Pace yourself conservatively from the start, because fast uphill efforts often trigger symptoms more than steady moderate movement. Hydration helps support airway comfort, and avoiding smoke exposure, campfire irritation, and high-pollen conditions when possible can make a real difference. If you know dust is a trigger, choose routes and seasons accordingly.
It can also help to plan the hike in a way that gives your body time to adapt. If possible, sleep at a moderate elevation before going higher, choose a route with gradual gain, and build in extra rest stops. Hike with a partner who knows you have asthma and understands what to do if symptoms develop. Know the difference between expected exertional breathing and warning signs that suggest asthma trouble or altitude illness. Most importantly, listen to your body early rather than late. The most effective strategy is a layered one: controlled asthma, appropriate medication use, airway protection from cold dry air, gradual pacing, and a warm-up routine that eases you into the demands of altitude instead of throwing your lungs into them all at once.</