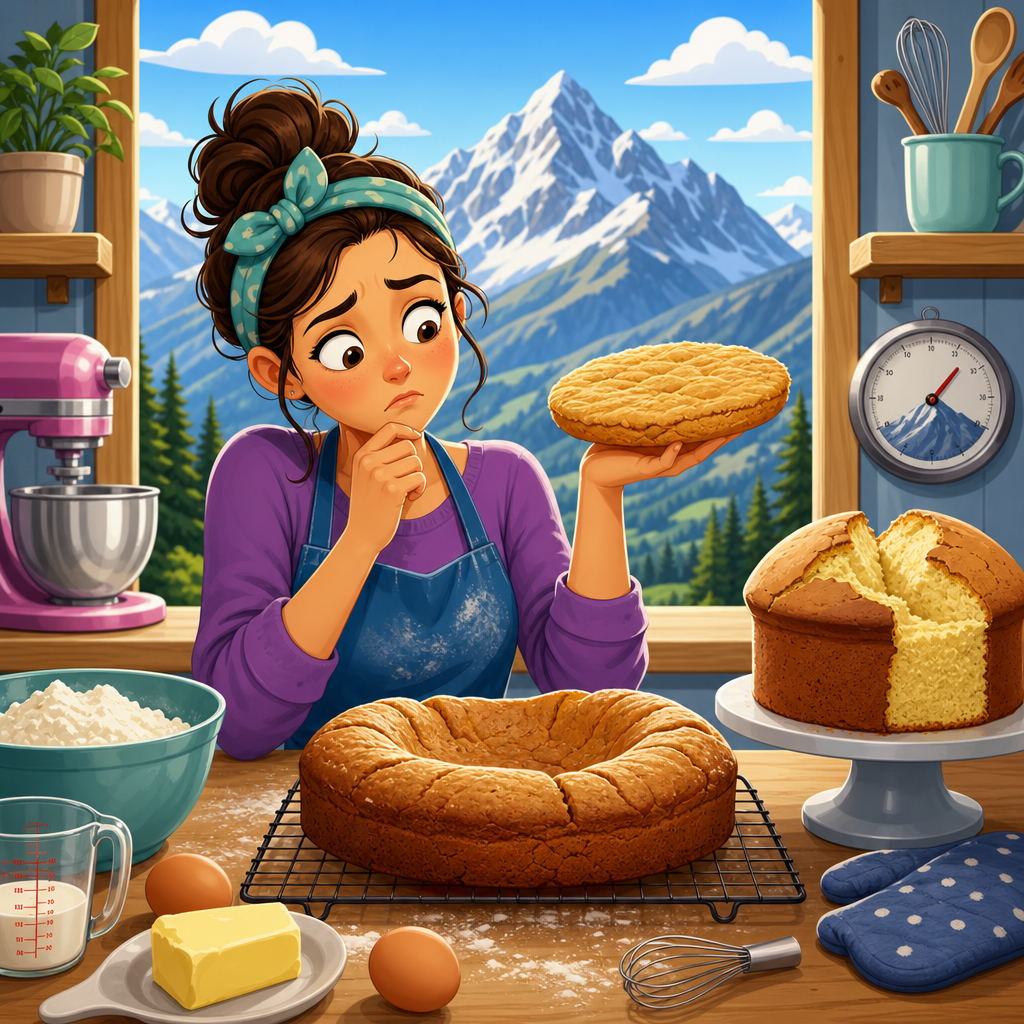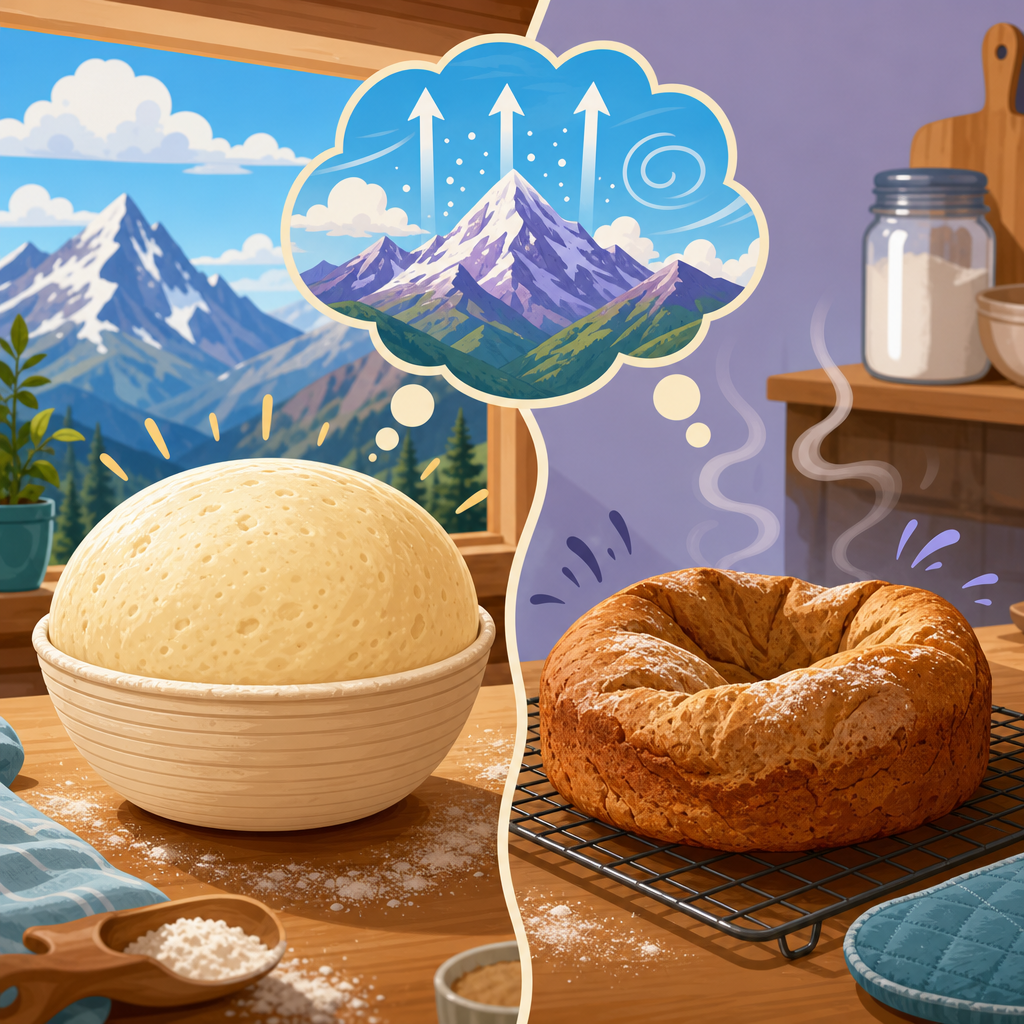
A loaf that crowns perfectly in the pan, then sinks in the oven or wrinkles as it cools, is one of the most common frustrations in high-altitude baking. In mountain kitchens, bread behaves differently because reduced air pressure changes how gases expand, how quickly moisture evaporates, how dough ferments, and how structure sets. When people ask why bread loaves collapse after rising beautifully at altitude, the short answer is this: the dough often expands faster than its gluten and starch network can support, then loses strength before baking finishes. That failure can happen during proofing, in the first minutes of baking, or after the loaf leaves the oven.
At altitude, “collapse” can mean several related problems. The top may crater inward, the sides may wrinkle, the loaf may mushroom over the pan and then sink, or the crumb may look gummy and compressed under a pale crust. These symptoms point to the same basic imbalance: too much gas expansion relative to dough strength and heat setting. In my own tests above 5,000 feet, the biggest mistakes were not dramatic recipe failures but small mismatches in yeast level, hydration, proof timing, and oven temperature. A dough that looked textbook-ready at sea level could overproof twenty minutes earlier in a dry mountain climate and lose its ability to hold shape.
This matters because yeast breads and sourdough rely on controlled fermentation and strong internal structure. Flour proteins form gluten, yeast and sourdough microbes produce carbon dioxide, and oven heat gelatinizes starch while coagulating proteins to lock the loaf in place. At altitude, each of those stages shifts. Carbon dioxide bubbles enlarge more easily. Water boils at a lower temperature, so moisture leaves the dough sooner. Fermentation often races because warm kitchens and stronger gas expansion make dough appear ready before the underlying structure is mature. Understanding those mechanics lets bakers fix collapse systematically instead of guessing. The goal is not simply less rise; it is balanced rise, so the loaf expands enough to be light while staying strong enough to finish tall, even, and fully baked.
What altitude changes inside yeast dough
Air pressure drops as elevation increases, and that changes bread from mixing bowl to cooling rack. At 5,000 feet and above, gases inside dough cells meet less external resistance, so bubbles expand more rapidly during bulk fermentation, final proof, and oven spring. That sounds helpful, but it creates weaker bubble walls and a more fragile gluten film. If the dough has not developed enough strength, those enlarged cells merge, stretch too far, and eventually rupture. The result is a loaf that looks huge just before baking but cannot support itself through the full bake.
Moisture loss is the second major shift. Because water boils at a lower temperature at altitude, dough dries faster during fermentation and baking. A skin can form on exposed dough, restricting even expansion, while the interior remains underbaked longer than expected. This combination often tricks bakers: the crust browns, the loaf sounds hollow, but the center has not set. Once cooled, steam redistributes and the loaf shrinks or caves. Higher evaporation also means flour absorbs water differently from day to day. Mountain bakers often need slightly more liquid than the written recipe, yet adding water without strengthening the dough can worsen collapse.
Fermentation rate is the third variable. Yeast activity itself is not magically stronger at altitude, but dough often rises faster because gases expand more and kitchens at altitude may run warmer and drier. Sourdough adds another layer because organic acids can tighten gluten early, then prolonged fermentation can weaken it later through proteolysis. In practice, this means visual cues matter more than the clock. A dough doubled in volume may already be overproofed. For pan loaves, I usually target final proof when the crown is just above the rim, not dramatically domed, because oven spring can be exaggerated at altitude.
The most common reasons bread loaves collapse after rising beautifully at altitude
Overproofing is the leading cause. When dough ferments too long, yeast exhausts available sugars, gluten becomes overstretched, and the dough’s gas-holding ability falls. At altitude, this happens earlier than many recipes suggest. The poke test helps, but it is not foolproof with enriched doughs or very soft sourdough. A better approach is to combine volume, feel, and timing. If a shaped loaf has expanded by roughly 50 to 75 percent and feels aerated but still slightly elastic, bake it. Waiting for a dramatic billowy rise often leads directly to collapse.
Weak gluten development is a close second. Bread flour, proper mixing, autolyse, folds, and correct hydration all build a structure that can hold expanding gases. Many mountain bakers under-mix because the dough appears airy quickly, or they over-hydrate in an attempt to combat dryness. Both can produce a loaf with impressive proof volume but poor support. Whole grain loaves are especially vulnerable because bran particles cut gluten strands and absorb water slowly. If a whole wheat loaf collapses, the fix is usually not more yeast. It is better gluten development, more water absorbed earlier, and often a shorter proof.
Underbaking also causes post-oven collapse. The crust can look done while the crumb remains unset. For lean sandwich loaves, an internal temperature around 200 to 210 degrees Fahrenheit is a practical target, with enriched breads often set at the lower end depending on sugar and fat content. An instant-read thermometer removes guesswork. If the center is below target, the loaf may sink as steam escapes and starches fail to hold the expanded shape. Darker pans, high sugar levels, and ovens that run cool intensify this problem.
Ingredient imbalance matters too. Too much yeast produces fast, coarse expansion and can blow through the dough’s structural limits. Too much sugar or fat slows setting and weakens overall support. Too little salt accelerates fermentation and reduces gluten strength. In sourdough, an overripe starter can bring excessive acidity and poor leavening balance. These issues rarely act alone; they usually combine with altitude-driven fast expansion.
How to adjust formulas for high-altitude yeast breads and sourdough
The best altitude bread adjustments are incremental, not drastic. Start by reducing yeast slightly, usually by about 10 to 25 percent for recipes that were developed near sea level. The higher the elevation and the warmer the kitchen, the more useful this becomes. The purpose is not to slow fermentation dramatically but to regain timing control so the dough strengthens before it reaches full volume. With sourdough, use a younger levain or a smaller inoculation if dough is peaking too quickly and turning fragile.
Next, evaluate hydration carefully. Many mountain bakers need a modest liquid increase because flour dries out and evaporation is higher. But hydration should be raised only until the dough is supple and extensible, not loose and unable to hold shape. I find it safer to hold back a portion of the water, then add it during mixing if the dough feels stiff. For whole grain breads, a short autolyse of 20 to 40 minutes lets bran absorb water before full mixing, improving strength and reducing the temptation to overhydrate.
Increase dough strength before reducing proof too aggressively. Stronger flour, more complete mixing, and strategic folds during bulk are more reliable than simply cutting time. For naturally leavened country loaves, coil folds or stretch-and-fold sets every 20 to 30 minutes early in bulk help the dough resist collapse during oven spring. Pan loaves benefit from a smoother final shape with firm surface tension, because even support across the top reduces caving and sidewall wrinkling.
| Problem | Likely altitude cause | Practical adjustment |
|---|---|---|
| Loaf rises high, then sinks in oven | Overproofing and weak gluten | Reduce final proof, lower yeast slightly, strengthen mixing |
| Crust browns but center collapses while cooling | Underbaked interior | Bake longer, verify with thermometer, tent crust if needed |
| Top caves under large bubbles | Gas cells expanded too far | Degas shaped loaf more evenly and proof less |
| Sourdough spreads and bakes flat | Excess hydration or over-fermentation | Lower hydration slightly, use younger starter, add folds |
| Whole wheat loaf mushrooms over pan and wrinkles | Bran-weakened gluten and fast proof | Autolyse, increase mixing, shorten proof, bake sooner |
Finally, consider oven temperature. A slightly hotter oven, often 15 to 25 degrees Fahrenheit above the original formula, can help set structure before overexpansion causes failure. This is especially useful for pan breads and hearth sourdough with strong fermentation. However, higher heat is not a cure for underdeveloped dough. If the loaf bursts at the sides, tears unpredictably, or remains dense at the base, the core issue is usually shaping, proofing, or gluten development rather than temperature alone.
Reading fermentation correctly in mountain kitchens
Learning to read dough is the most valuable altitude skill. Bulk fermentation should produce visible aeration, smoother texture, and moderate volume gain, but exact targets vary by dough type. For enriched sandwich bread, doubling during bulk is often excessive at altitude. For sourdough, a 30 to 60 percent rise may be enough before dividing, depending on flour strength and temperature. If the dough feels fragile, sticky in a broken-down way, or impossible to shape tightly, it has likely gone too far.
Shaped proof is where beautiful loaves most often become disappointing ones. A pan loaf should usually enter the oven when the highest point sits just above the rim and the dough still springs back slowly when touched. If the crown is towering, wobbling, or full of visible large blisters, collapse is likely. For banneton-proofed sourdough, the dough should feel buoyant and hold tension. If it spreads immediately when turned out, the structure is not sufficient for the level of gas inside.
Temperature control is essential. Use a dough thermometer, not just room temperature, because friction from mixing and warm water can accelerate fermentation. Professional bakers calculate desired dough temperature for a reason: fermentation speed is predictable only when dough temperature is controlled. In home baking, even a simple target of 75 to 78 degrees Fahrenheit for many lean doughs can improve consistency. If your kitchen is very warm, cooler mixing water and shorter proof windows often solve recurring collapse without changing the recipe dramatically.
Pan breads, hearth loaves, and enriched doughs fail differently
Standard sandwich loaves collapse most often from overproofing in the pan. Their soft dough and constrained shape encourage dramatic upward expansion, so they can look ready, then overshoot quickly. Milk, butter, eggs, and sugar also tenderize gluten and delay crumb setting. That means enriched dough needs both adequate strength and full bake time. Pullman loaves and soft dinner roll doughs especially benefit from lower yeast, careful final proof, and verification of internal temperature before cooling.
Hearth loaves and artisan sourdough collapse for different reasons. Here the problem is often excess hydration relative to flour strength, incomplete gluten development, or over-fermentation during bulk. At altitude, a dough can feel airy and alive while actually being too weak to hold a score. The loaf may spread on the peel, spring briefly, then flatten. Better lamination or folding, a slightly younger levain, and more disciplined proofing usually help more than adding flour at the bench, which can create a dry outer shell and gummy interior.
Whole grain and rye breads require special caution. Whole wheat ferments quickly, but the bran weakens structure. Rye depends less on gluten and more on starch gel and pentosans, so underbaking is especially punishing. If a rye-forward loaf collapses, think bake profile first: longer bake, fuller starch gelatinization, and complete cooling before slicing. For high-altitude bakers, the broad lesson across yeast breads and sourdough is that each style has a different structural system, but all collapse when expansion outruns setting.
A practical troubleshooting workflow for consistent high-altitude bread
Change one variable at a time and keep notes. Record elevation, flour brand, hydration, dough temperature, bulk duration, final proof duration, oven temperature, and internal temperature at doneness. After two or three bakes, patterns emerge quickly. If every loaf rises high then sinks, shorten final proof first. If loaves wrinkle after cooling, confirm doneness next. If dough turns slack before shaping, reduce fermentation or strengthen the mix. This method is faster than chasing random internet fixes.
Use objective checks wherever possible. Weigh ingredients in grams. Mark dough level in a straight-sided container. Photograph shaped loaves before baking. Verify oven accuracy with a separate oven thermometer, since many home ovens drift by 25 degrees or more. For sourdough, track starter peak time and aroma. Healthy starter should smell pleasantly acidic and yeasty, not sharply solvent-like or exhausted. These details make bread baking less mysterious and dramatically improve consistency at elevation.
As you build your own Cooking & Baking at Altitude system, treat this yeast breads and sourdough guide as the hub: from here, explore pan loaf proofing, high-altitude sourdough hydration, whole wheat structure, starter maintenance, and oven-spring control in more detail. The core takeaway is simple. Bread loaves collapse after rising beautifully at altitude because mountain conditions amplify expansion and shorten the margin for error. Stronger dough, slightly restrained fermentation, and thorough baking restore that margin. Start with a small yeast reduction, proof earlier than you think, and bake to a confirmed internal temperature. Those three steps solve most collapsing loaves and turn dramatic rises into dependable, well-shaped bread.
Frequently Asked Questions
Why does bread rise beautifully in the pan at high altitude, then collapse in the oven?
At high altitude, lower air pressure allows the gases inside bread dough to expand more easily and more rapidly than they do at sea level. That means a loaf can look perfectly proofed in the pan, even impressive, but still be structurally weak. As oven heat hits the dough, yeast activity surges briefly, steam forms quickly, and the existing gas cells enlarge fast. If the gluten network has not developed enough strength, or if the dough has over-proofed before baking, those expanding cells stretch beyond what the dough can support. Instead of holding that final burst of oven spring, the loaf balloons and then sinks.
The other major factor is timing. At altitude, fermentation tends to move faster, moisture evaporates more quickly, and dough can go from ideal to overexpanded in a surprisingly short window. A loaf that seems just right based on sea-level baking habits may already be too far along in a mountain kitchen. Once the internal structure weakens, the starches and proteins may not set in time to hold the shape. The result is a sunken top, collapsed sides, or a loaf that wrinkles as it cools because the crust formed around a crumb that never fully stabilized.
In practical terms, this usually means the dough needs more support and more control: slightly less yeast, shorter rise times, careful final proofing, strong gluten development, and often a somewhat hotter oven to help the loaf set sooner. The goal is not to stop rising, but to keep expansion and structure in balance.
How can I tell whether my loaf is over-proofed at altitude?
Over-proofing is one of the most common reasons bread collapses after looking beautiful before baking, and it is especially easy to do at altitude. A loaf can appear lofty and well-shaped, yet already be past its peak. One reliable clue is how the dough responds to a gentle fingertip poke. If the indentation springs back slowly and only partially, it is often ready to bake. If it does not spring back much at all, the dough may be over-proofed. If it springs back immediately and fully, it likely needs more time. At altitude, that ideal window tends to be shorter, so checking more often matters.
Visual signs also help. Over-proofed dough may look overly inflated, fragile, or slightly dry on the surface. In the pan, it may rise too high above the rim and seem puffy rather than resilient. When transferred or scored, it can deflate easily. In the oven, over-proofed dough often rises quickly for a moment and then caves in because the gluten has already been stretched too far during proofing. After baking, you might see a flattened crown, a collapsed center, or wrinkling as the loaf cools.
The best prevention is to trust the dough more than the clock. Recipes written for lower elevations often suggest proofing times that are too long for mountain conditions. Start checking earlier than usual, keep dough temperature in mind, and remember that warmer kitchens and slightly sweet or enriched doughs can accelerate proofing even more. With altitude baking, a loaf that goes into the oven a little earlier often performs better than one left to rise until it looks maximally expanded.
What recipe adjustments help prevent a loaf from sinking at high altitude?
Several adjustments can improve loaf stability, and the right combination depends on the bread type, your exact elevation, and your kitchen conditions. One of the first changes bakers make is reducing yeast slightly. Because dough tends to ferment and expand more readily at altitude, too much yeast can push the dough beyond what its structure can support. Cutting yeast helps slow the process and creates a more controlled rise. Shortening bulk fermentation or final proofing times also helps prevent overexpansion.
Another important adjustment is strengthening structure. You may need to knead a bit longer, use flour with higher protein, or slightly reduce the amount of water if your dough is excessively loose. That said, altitude also increases moisture loss, so the balance is subtle: dough should be well hydrated, but not so soft that it cannot hold shape. In some recipes, adding a little more flour can help; in others, a modest increase in liquid is needed to offset faster evaporation. The key is dough feel, not blind adherence to the original formula.
Oven temperature often matters more than bakers expect. A slightly hotter oven can help the loaf set earlier, which reduces the chance of dramatic overexpansion and collapse. If a bread is browning too fast before the center is fully baked, though, the temperature increase may need to be paired with a shorter bake adjustment elsewhere or a shield later in baking. Salt levels, mixing strength, shaping tension, and pan size also affect loaf stability. In short, the best anti-collapse strategy usually combines less aggressive rising with better structural support and faster setting in the oven.
Why does my bread wrinkle or shrink as it cools after baking at altitude?
Wrinkling during cooling usually means the loaf expanded well enough to create a nice outer shape, but the interior structure did not fully set before the bread came out of the oven. At altitude, this is common because gases expand readily and moisture leaves the dough more quickly, creating a situation where the crust may appear finished while the crumb still needs more time. As the loaf cools, steam escapes, the internal pressure drops, and a weak crumb can no longer support the outer shell. The crust then contracts and wrinkles, or the top sinks inward.
Underbaking is a frequent contributor. Bread can look done from the outside while still being too moist or too soft at the center. This happens even more often in enriched breads, sandwich loaves, or large pan loaves, where the interior takes longer to stabilize. Removing the loaf from the pan promptly after baking can help avoid trapped steam softening the sides, but that does not solve the deeper issue if the crumb itself was not fully baked. Using an instant-read thermometer is one of the easiest ways to confirm doneness rather than relying only on color or time.
Cooling technique matters too, but it is secondary to structure. Always cool bread on a rack so steam can escape evenly. If the loaf still wrinkles consistently, look upstream: proof slightly less, strengthen gluten development, and make sure the loaf reaches full internal doneness. A loaf that is properly proofed and fully baked is much more likely to cool with a smooth, stable shape.
Is gluten development really that important for preventing collapsed loaves at altitude?
Yes, absolutely. Gluten development is one of the main structural defenses against collapse, especially in high-altitude bread baking. Gluten forms the elastic network that traps gas produced during fermentation and supports the dough as it expands in the oven. At altitude, because gases enlarge more easily, that network has to do more work. If it is underdeveloped, the dough may still rise dramatically in the bowl or pan, but that rise can be misleading. Big volume does not always mean strong structure.
When gluten is too weak, the dough cannot hold the rapid expansion that happens during proofing and early baking. Gas cells grow too large, walls between them thin out, and the loaf becomes vulnerable to sinking. This is particularly common in very soft doughs, doughs that were not mixed or kneaded enough, or formulas made with lower-protein flour that lack the strength needed for a tall pan loaf. Poor shaping can compound the issue by failing to create enough surface tension to guide and support upward expansion.
That said, strength is not just about mixing longer without thought. The dough should be developed enough to become smooth, elastic, and cohesive, but not so overmixed that it becomes tight or dry. Techniques like autolyse, stretch-and-folds, and careful shaping can build structure without overworking the dough. For many mountain bakers, improving gluten development and shaping technique makes a bigger difference than any single ingredient tweak. When the dough has a strong internal framework, it is far better equipped to rise beautifully and stay that way through baking and cooling.