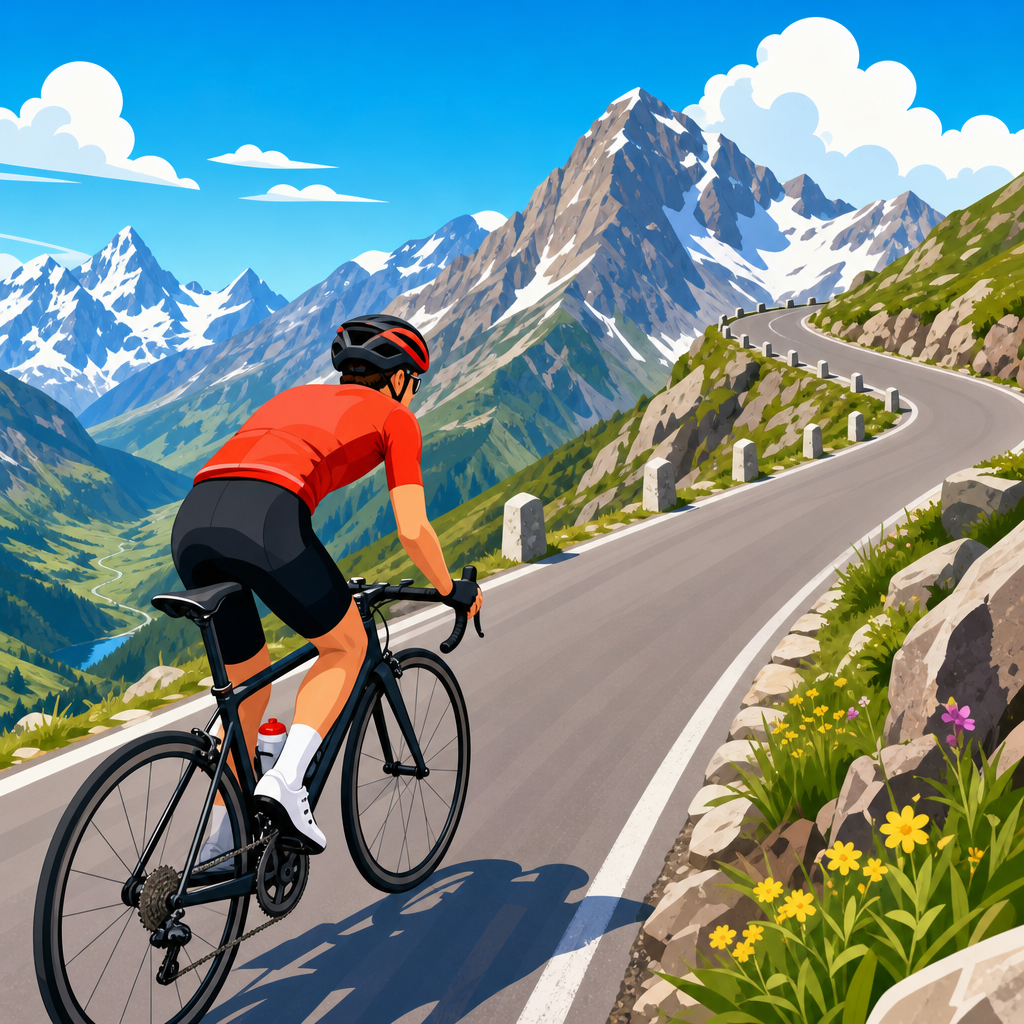
Mountain biking at altitude demands more than grit, because the combination of thin air, repeated power spikes, and technical terrain changes how your body produces energy and how quickly it recovers between efforts. In practical terms, altitude usually starts to affect performance around 1,500 meters, with sharper declines above 2,000 meters as the partial pressure of oxygen drops and every hard acceleration costs more. For riders, surges are the short, intense efforts used to clear a rock step, close a gap, crest a punchy climb, or sprint out of a switchback, while recovery is the period when breathing settles, metabolites are cleared, and usable power returns. I have coached and ridden in high-country trail systems where athletes who pace perfectly at sea level blow up halfway through a climb simply because they treated altitude like a fitness test instead of a physiological constraint. This Cycling hub explains how altitude changes effort, how to manage surges and recovery on real trails, what to adjust in training, pacing, fueling, and equipment, and how to connect those decisions to the broader demands of mountain biking performance.
Mountain biking sits at the intersection of aerobic endurance, anaerobic repeatability, technical handling, and environmental stress, which makes it one of the most complex disciplines within Fitness, Hiking & Performance. Unlike steady road riding, trail riding often forces riders into stochastic work patterns: five seconds hard over a root web, thirty seconds seated on a loose climb, ten seconds out of the saddle over a ledge, then a brief coast before the next demand. At altitude, those fluctuations matter more because oxygen delivery is limited, ventilation rises, heart rate responses can drift, and the gap between sustainable tempo and unsustainable overreach narrows. Riders searching for better cycling performance usually ask the same questions: Why do my legs flood so quickly above 8,000 feet? Should I attack steep sections or ride below threshold? How long does acclimatization take? What should I eat and drink when appetite drops? The answers are not generic. They depend on elevation, duration, trail grade, technical density, fitness history, and how disciplined you are with surge control. Master those factors, and altitude stops being an excuse and becomes a manageable performance variable.
What altitude changes in mountain biking physiology
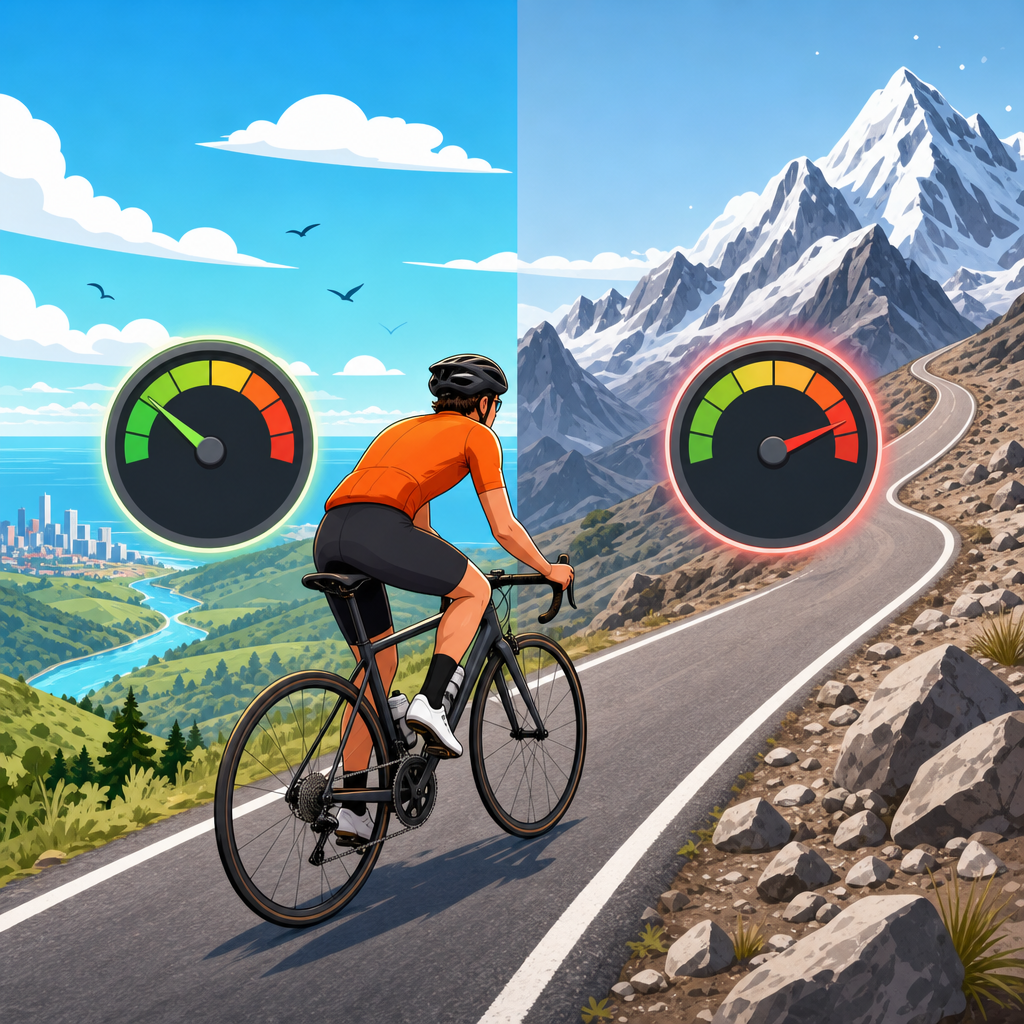
The central issue is reduced oxygen availability. At higher elevation, the percentage of oxygen in the air remains about 21 percent, but barometric pressure falls, so less oxygen moves from the lungs into the blood with each breath. The immediate result is a drop in maximal aerobic power, often measured as VO2 max, and a higher breathing rate at any given workload. Research from the American College of Sports Medicine and field observations from endurance coaches align on a practical rule: aerobic performance declines progressively with elevation, especially above 1,500 to 2,000 meters. On a mountain bike, that means the power you can hold on a twenty-minute climb at sea level is no longer the power you can safely target on the same perceived effort at altitude.
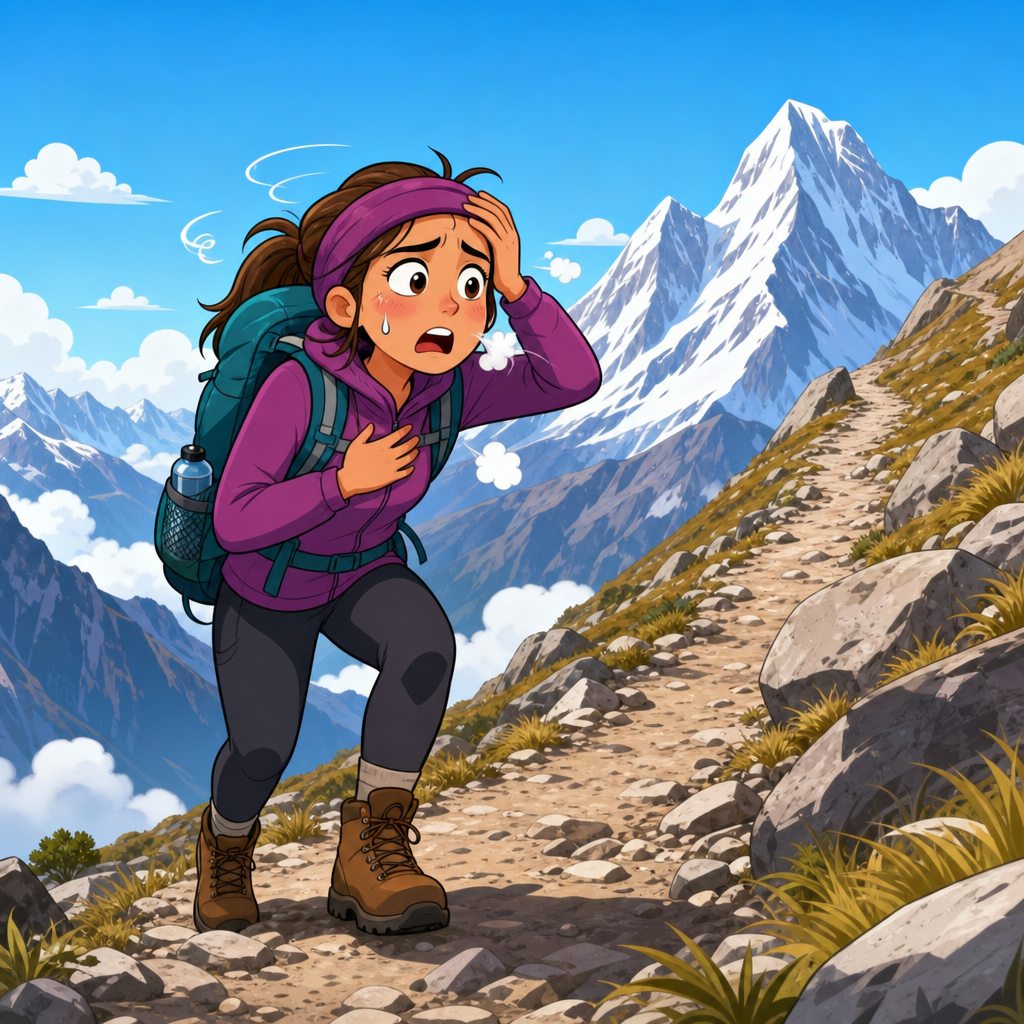
Surges become expensive because they draw heavily on anaerobic glycolysis, which creates rapid acidosis and a steep oxygen debt. At sea level, a fit rider may recover from a six-second burst quickly enough to repeat it over and over. At 2,500 meters, the same rider often feels the cost of each effort accumulate. Breathing remains elevated longer, heart rate can lag or drift unpredictably, and technical errors appear because cognitive sharpness fades when riders redline repeatedly. In my own altitude sessions, the most obvious sign of poor management is not always slow climbing; it is ragged decision-making entering corners and a delayed ability to reset after an obstacle. Mountain biking performance at altitude is therefore not just about fitness. It is about protecting repeatability.
How to pace surges on technical climbs and rolling terrain
The best pacing strategy is to treat surges as tactical tools, not default behavior. On long dirt climbs, stay below the point where breathing becomes chaotic, even if the grade briefly invites an attack. If you use a power meter, ride by adjusted targets rather than sea-level ego. Many riders need to cut expectations by five to fifteen percent depending on elevation and acclimatization. If you do not use power, use talk test and respiration: when you can no longer speak a short phrase and breathing becomes noisy, you are too close to the line for repeated technical work. Save true surges for moments that provide clear payoff, such as lifting speed over a ledge, clearing a loose switchback, or bridging to a draft before a headwind section.
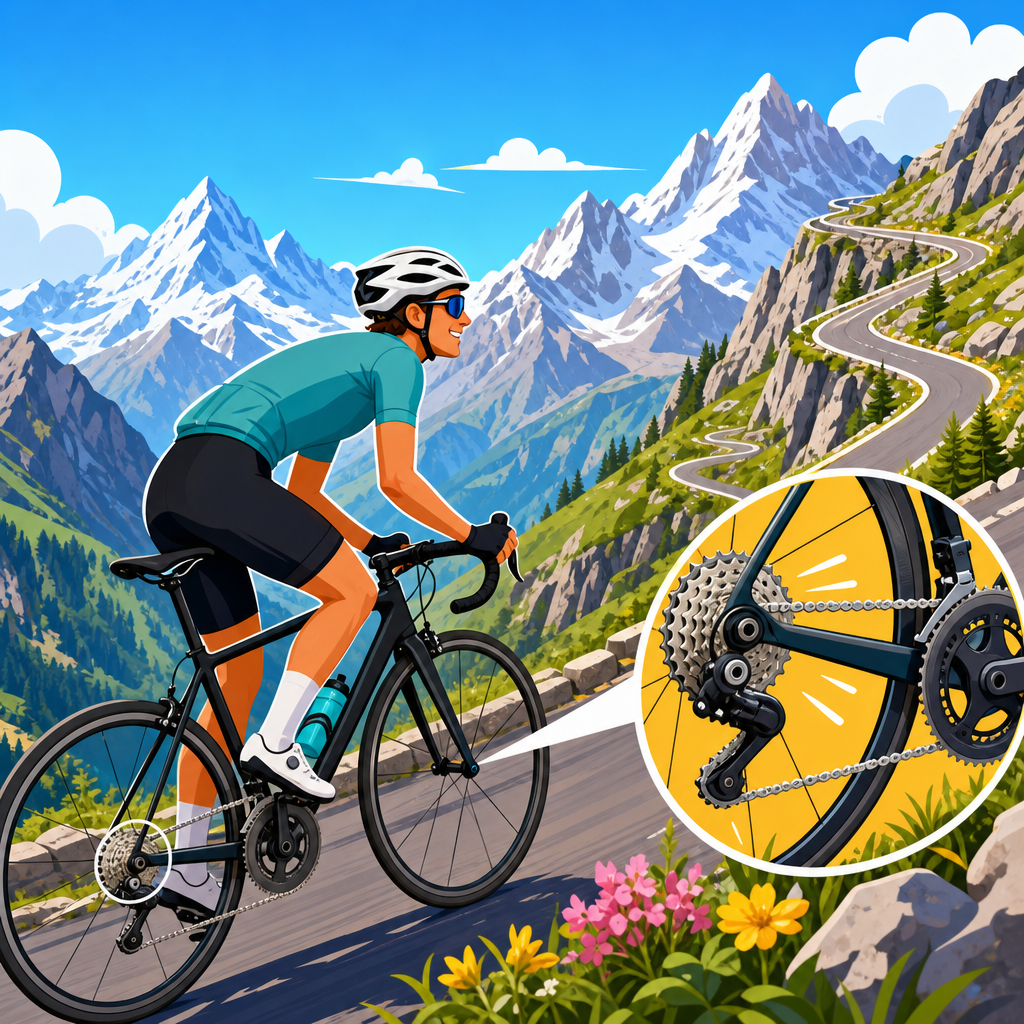
On rolling terrain, experienced riders smooth the trail by carrying momentum and reducing unnecessary accelerations. That sounds simple, but it is the most effective altitude skill in Cycling. Instead of braking late and sprinting out of every turn, enter with control, exit with traction, and accelerate progressively. Use gears early so cadence stays fluid; grinding a tall gear at altitude spikes muscular tension and local fatigue. On steep pitches, seated traction often beats standing force because standing raises torque abruptly and can provoke wheel slip, which then forces another surge. The rider who looks patient usually rides faster over an hour because every avoided acceleration preserves recovery capacity for the moments that truly require power.
| Trail situation | Common mistake at altitude | Better surge strategy | Recovery cue |
|---|---|---|---|
| Punchy rock step on climb | Attacking too early in heavy gear | Shift sooner, carry entry speed, use one short burst | Stay seated after obstacle and lengthen exhale |
| Loose switchback | Standing and spinning out rear wheel | Brake before turn, keep traction, accelerate once bike is straight | Soft pedal for 10 to 20 seconds |
| Rolling singletrack | Sprinting after every corner | Pump terrain and build speed gradually | Use descents to lower breathing rate |
| Short pass to overtake rider | Passing on steepest section | Wait for wider or flatter section, commit once | Resume tempo immediately, do not surge again |
Recovery between efforts: breathing, cadence, and trail reading
Recovery at altitude begins before the hard effort ends. Skilled riders downshift during the final seconds of a surge so they can spin rather than grind when the obstacle is cleared. That higher cadence lowers muscular strain and helps the cardiorespiratory system catch up. Deliberate breathing also matters. A long exhale activates a calmer breathing rhythm and can reduce the feeling of panic that follows a hard burst in thin air. I cue riders to think “empty first, then refill,” because many people at altitude breathe fast but shallow and never fully ventilate. On smoother sections, unweight the upper body, relax the jaw and shoulders, and let the bike move underneath you. Tension wastes oxygen.
Trail reading is another recovery tool that rarely gets enough attention in mountain biking discussions. If you can see a root cluster, drainage rut, or steep compression early, you can prepare speed and line choice instead of making a desperate acceleration at the last second. That saves energy and preserves composure. Recovery also improves when riders stop treating every micro-section as an isolated problem. Read thirty to fifty meters ahead and link features together. Maybe you let speed run slightly on a benign descent because it buys a calmer entry to the next rise. Maybe you choose the smoother outside line because it avoids a sequence of two extra power spikes. Those decisions are small in isolation and decisive over ninety minutes above 2,000 meters.
Training for altitude cycling performance before race day or a trip
You cannot fully simulate altitude without being there, but you can prepare for the specific demands of mountain biking at altitude. The first priority is a strong aerobic base, because the better your aerobic system, the more room you have before each surge becomes catastrophic. Sweet spot and threshold intervals remain useful, but for trail riders I prioritize over-under workouts, long tempo climbs, and repeated short efforts with incomplete recovery. A classic session is three sets of eight to ten minutes alternating one minute slightly below threshold with thirty seconds moderately above it. This teaches control under rising respiratory stress. Another useful session is repeated ten to fifteen second technical-start efforts on a climb, followed by controlled spinning rather than full rest.
Strength and mobility work support this process. Single-leg strength, hip stability, and trunk endurance help riders stay efficient when seated traction matters. If your torso collapses and your hips rock under load, every climb costs extra oxygen. Acclimatization planning is the next lever. For many riders, arriving seven to fourteen days early improves tolerance, but if that is impossible, a shorter arrival may be better than spending the most uncomfortable day or two in between, depending on the event. Responses vary. The Centers for Disease Control and Prevention and wilderness medicine guidelines consistently emphasize gradual ascent when possible, hydration, and awareness of altitude illness symptoms. Fitness does not make you immune. If headache, nausea, dizziness, poor coordination, or unusual fatigue escalate, performance is no longer the main issue and descending may be necessary.
Fueling, hydration, and equipment choices that protect recovery
Nutrition mistakes amplify altitude problems quickly. Higher ventilation increases fluid loss, dry mountain air accelerates dehydration, and many riders underdrink because cool temperatures hide sweat loss. Even mild dehydration raises perceived exertion and makes recovery between surges worse. Start rides hydrated, use electrolytes when rides are long or sweat rates are high, and drink to a plan instead of waiting for thirst alone. Carbohydrate availability is equally important because hard trail surges depend on glycogen. Most riders perform better taking in thirty to sixty grams of carbohydrate per hour on moderate rides, and more on longer or harder days if the gut is trained. If appetite drops at altitude, use drink mix, gels, chews, or soft bars that are easy to consume while breathing hard.
Equipment should reduce unnecessary power spikes. Gearing that is slightly easier than your sea-level preference is often smart, especially on steep, loose terrain. Lower tire pressure within safe limits can improve traction and cut repeated acceleration losses from wheel slip, though inserts, casing choice, rider mass, and rim width all matter. Suspension setup also affects energy cost: a bike that is too firm can deflect and force extra corrections, while a bike that wallows wastes momentum. I also encourage riders to check brake reach, cockpit comfort, and pack weight before any big altitude day. Poor fit increases upper-body tension, and carrying unnecessary gear on a 3,000-meter ride is a tax you pay every minute. Good Cycling performance comes from small efficiencies stacked together.
How this cycling hub connects to the wider performance picture
As the hub for Cycling within Fitness, Hiking & Performance, this topic links directly to climbing endurance, descending skill, hiking uphill economy, recovery science, and outdoor load management. Mountain biking at altitude rewards the same core principles seen in strong hikers and mountain athletes: disciplined pacing, technical economy, hydration strategy, terrain awareness, and respect for environmental stress. Riders who cross-train with uphill hiking, strength work, and structured endurance often adapt better because they are used to long aerobic strain and movement under variable footing. At the same time, cyclists need cycling-specific refinement, especially in cadence control, traction management, and repeated submaximal surges. A hiker can grind steadily; a mountain biker must repeatedly modulate power without tipping into irreversible debt.
The practical takeaway is clear. If you want better mountain biking at altitude, stop chasing every rise as if it were a sprint and start managing the ride as a sequence of controlled efforts. Understand what altitude does to oxygen delivery, limit surges to moments with tactical value, recover actively with breathing and cadence, train the repeatability required by technical trails, and support the work with smart fueling, hydration, and equipment choices. This approach improves speed, consistency, and safety at once. Use this Cycling hub as your foundation, then apply the same disciplined thinking to your next climb, stage race, bikepacking route, or alpine trail weekend. Plan your pacing before the ride, not halfway through the blowup, and altitude will become something you manage well rather than something that manages you.
Frequently Asked Questions
1. Why do surges feel so much harder when mountain biking at altitude?
Surges feel harder at altitude because your body has less oxygen available to support hard efforts, and that changes the cost of every acceleration. Once you get above roughly 1,500 meters, and especially beyond 2,000 meters, the lower partial pressure of oxygen makes it more difficult to produce energy aerobically. On a mountain bike, that matters a lot because riding is rarely steady. You are constantly punching over short climbs, accelerating out of corners, lifting the bike over trail features, and making repeated power spikes to maintain momentum on technical terrain.
At sea level, those short efforts already rely heavily on anaerobic energy systems. At altitude, the aerobic system has a harder time contributing between and during those efforts, so you burn through your limited high-intensity capacity faster and recover more slowly afterward. That means one hard surge can feel manageable, but five or six close together can suddenly create a much larger performance drop than you would expect. Riders often describe this as feeling “flooded” or “stuck in the red” after a technical section that would normally be manageable lower down. The practical takeaway is that pacing matters more, over-accelerating is punished more severely, and smooth riding becomes a major performance advantage.
2. How should I pace repeated power spikes on technical climbs and trail features at altitude?
The best pacing strategy at altitude is to treat every surge as more expensive than it would be at lower elevation. Instead of attacking every obstacle with maximum force, aim to carry momentum, stay relaxed, and use the minimum effective effort needed to clear the feature. On technical climbs, that means looking farther ahead, choosing cleaner lines early, keeping traction consistent, and avoiding unnecessary braking that forces you to re-accelerate. Every time you have to stomp on the pedals to regain speed, the oxygen cost is amplified.
A useful way to think about it is to separate necessary surges from wasted surges. A necessary surge is a deliberate burst to get over a ledge, through loose terrain, or over the top of a steep pitch. A wasted surge happens when poor line choice, bad gearing, late braking, or tension on the bike forces an extra acceleration. At altitude, cutting out wasted surges can make a dramatic difference in how long you can hold form and maintain control.
Cadence and gearing also matter. Shifting earlier into an easier gear can reduce the peak torque needed for short efforts and help you avoid the dead-leg sensation that comes from grinding too hard in thin air. It is usually smarter to ride at 90 to 95 percent of what feels possible rather than spiking to 100 percent repeatedly. The rider who stays just under the limit often ends up faster over the whole climb or stage than the rider who attacks every section and then stalls. In short, smooth is not just efficient at altitude; it is often the only sustainable way to ride well.
3. How can I recover faster between hard efforts when riding at elevation?
Recovery between efforts is slower at altitude because oxygen delivery is reduced, and that slows your ability to clear fatigue and restore readiness for the next acceleration. You cannot eliminate that effect, but you can improve how well you manage it. The first step is to make recovery intentional. After a hard punch, back off as soon as the terrain allows, soften your grip, lower upper-body tension, and focus on deep, controlled breathing. Many riders stay mentally “on the gas” after an obstacle and miss the brief windows where they could actually recover.
Breathing control is especially important. At altitude, riders often drift into shallow, rapid breathing during technical riding, which can make the sense of breathlessness worse. A more effective pattern is to consciously exhale fully after a surge, then take one or two deep breaths as the trail opens up. That helps you settle faster and regain rhythm. Position on the bike matters too. When possible, sit briefly on smoother sections to reduce upper-body demand and allow your breathing to normalize.
Nutrition and hydration also have an outsized effect on recovery at elevation. Altitude can increase fluid loss through ventilation and dry air, and even mild dehydration can raise heart rate and make hard efforts feel more costly. Start the ride well hydrated, drink regularly, and do not wait until you feel depleted to eat. Carbohydrates are particularly important because higher-intensity riding leans heavily on them, and at altitude you often reach that higher-intensity state sooner. If the ride is long or the trail is demanding, steady fueling can be the difference between manageable surges late in the ride and a complete drop-off in power and coordination.
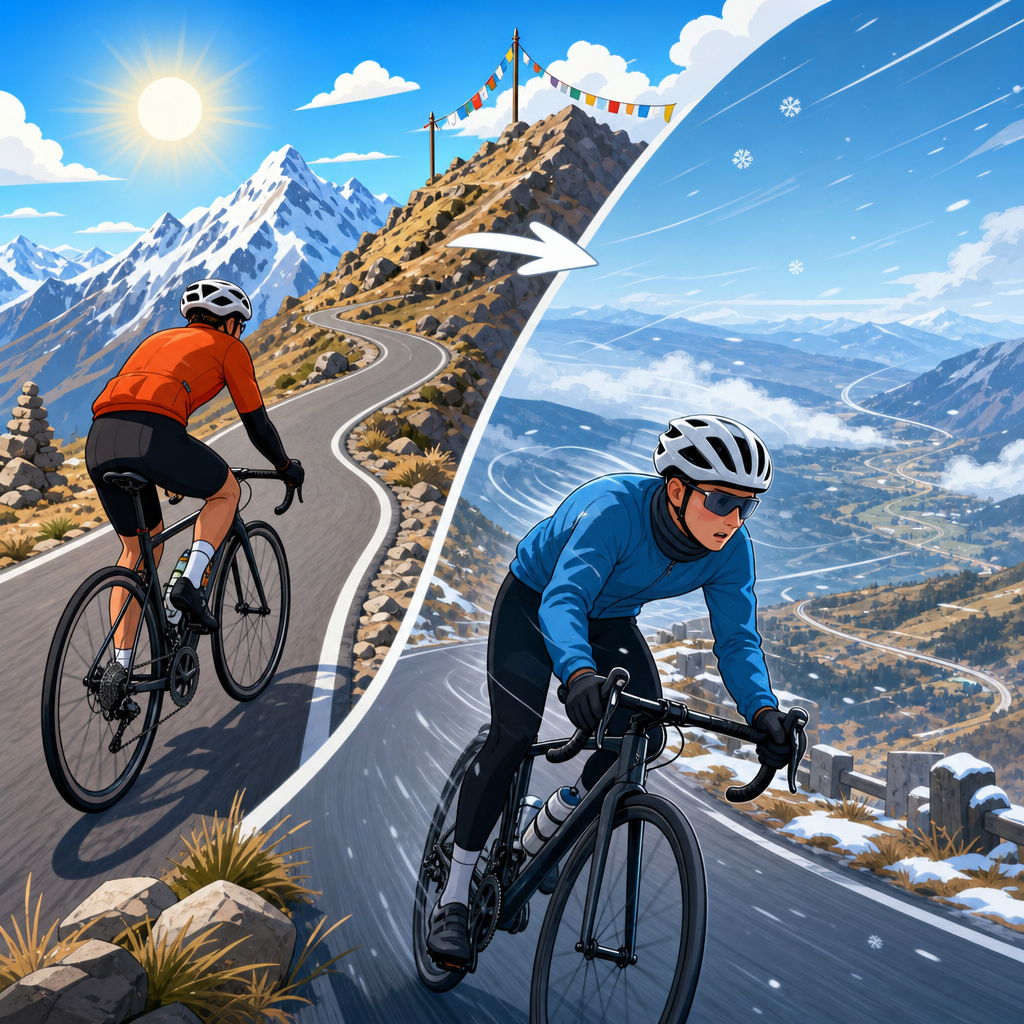
4. Is it better to acclimatize before riding hard at altitude, or can I adapt during the ride?
If you have the option, acclimatizing before a demanding ride is clearly better. While full adaptation takes time, even a short period at altitude can help reduce the shock of the first hard efforts. The body begins to adjust ventilation, fluid balance, and effort perception relatively quickly, but meaningful changes in performance still take days to weeks. That means if you travel from lower elevation and jump straight into aggressive mountain biking above 2,000 meters, you should expect surges to feel disproportionately hard and recovery to be noticeably slower.
For the first one to three days, it is wise to lower expectations and keep intensity under control. Ride easier than you think you need to, especially on the opening climbs, and avoid turning every technical move into a race effort. If you are staying longer, progressive exposure works best: start with shorter, smoother rides, then add more climbing, more technicality, and more high-intensity work as your body adjusts. Riders who ignore this process often mistake altitude stress for poor fitness, when in reality they are simply paying the normal cost of reduced oxygen availability.
If you cannot acclimatize in advance, your best in-ride adaptation tools are pacing discipline, conservative early efforts, deliberate recovery habits, and extra attention to sleep, hydration, and fueling. You may not fully adapt in a single outing, but you can avoid making the day unnecessarily harder. In practical terms, that means holding back early, respecting every surge, and remembering that the first half of the ride often determines whether the second half is controlled or miserable.
5. What are the most effective training and riding techniques for handling altitude surges without blowing up?
The most effective approach combines fitness, skill, and restraint. From a training standpoint, you need the ability to tolerate repeated short efforts, but you also need the aerobic foundation to recover from them as efficiently as possible. That means a mix of endurance riding, threshold work, and interval sessions that mimic the stop-start nature of mountain biking. Short uphill repeats, over-under intervals, and sessions with repeated accelerations out of corners or over trail features can prepare you for the real demand: not one big effort, but many imperfect efforts layered across technical terrain.
Technical skill may be even more important than raw power. Better riders waste less energy because they preserve momentum, brake less abruptly, corner more cleanly, and choose lines that reduce the need for emergency accelerations. Practicing slow-speed balance, climbing technique, ratcheting, front-wheel placement, and traction management can all reduce the number and size of surges required on the trail. At altitude, that efficiency compounds. The rider who saves a little energy on every section often has much more available when a truly hard move appears.
On the day of the ride, the winning formula is simple but not always easy: start controlled, fuel early, breathe deliberately, surge only when necessary, and take every small recovery window you can get. If you use a heart rate monitor or power meter, expect numbers to behave differently than they do at lower elevation, particularly on repeated hard efforts. Perceived exertion and breathing strain often become more useful guides. The goal is not to avoid intensity altogether, but to spend it strategically. At altitude, smart effort distribution usually beats aggression, and riders who respect that tend to finish stronger, cleaner, and faster.